The transshipment step of a CargoUnit is triggered when customs validates the transshipment request.
To sum up, to transship a CargoUnit you must first go through these steps:
STEP 1 : After creation of a stopover, on Import process, integrate CargoUnits of the Transshipment traffic type in a scheduled manifest
→ https://4sh-toolkit.atlassian.net/l/cp/76Lhfv1K
→ https://4sh-toolkit.atlassian.net/l/cp/yc1JsyC1
STEP 2 : Shipping agent authorize the unloading
→ https://4sh-toolkit.atlassian.net/l/cp/ZP3pupb0
STEP 3 : Stevedore performs unloading operations
→ Confirm the Unit Landed Ashore (ULA indicator)
STEP 4 : Shipping agent accept the difference report and generate final manifest
→ https://4sh-toolkit.atlassian.net/wiki/x/QgCVE
STEP 5 : Shipping agent create Customs Clearance Folder
→ Creating a Customs Clearance Folder (CCF indicator)
STEP 6 : Shipping create Transshipment Request
→ Create a Transshipment request
STEP : Customs agreement of a Transshipment request
→ Validation or Rejection of a Transshipment request
Start export process
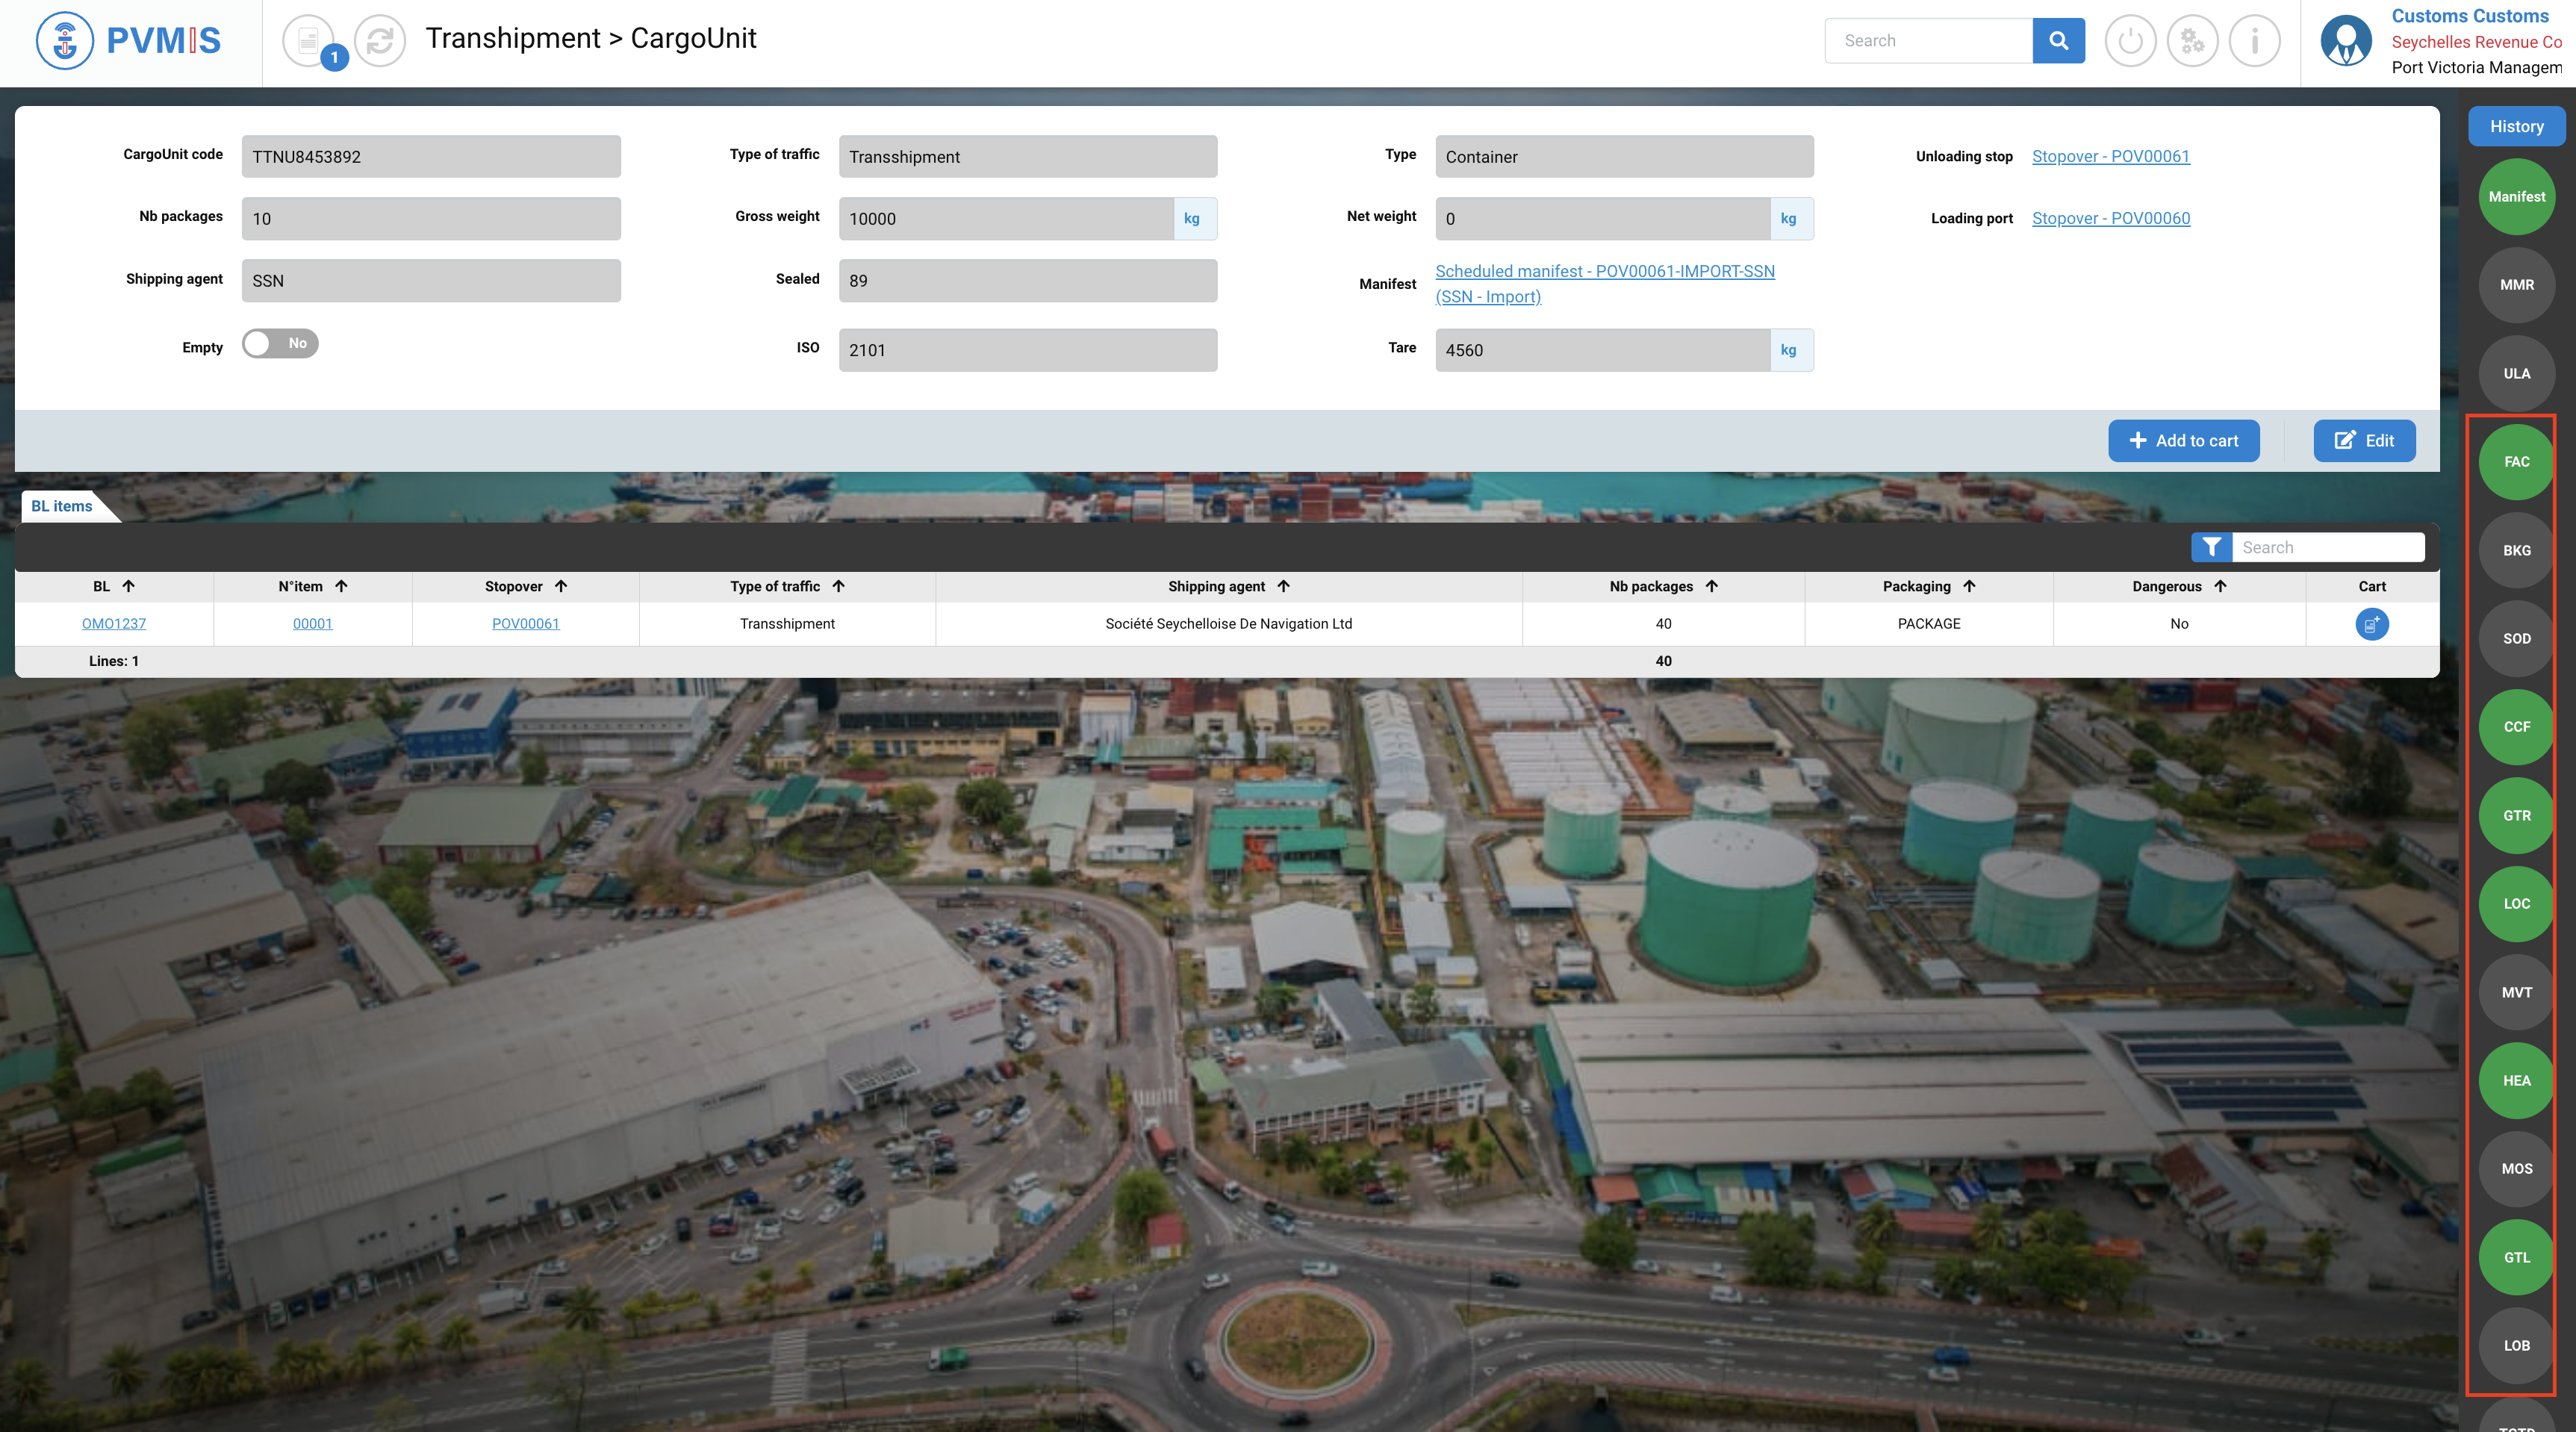
When a CargoUnit obtain customs agreement for the transshipment request:
-
It is integrated in a Booking in the loading stopover entered in the transshipment request
-
The transshipment request allows it to have its export customs clearance (GTR indicator)
-
The CargoUnit is located in the terminal (LOC indicator)
-
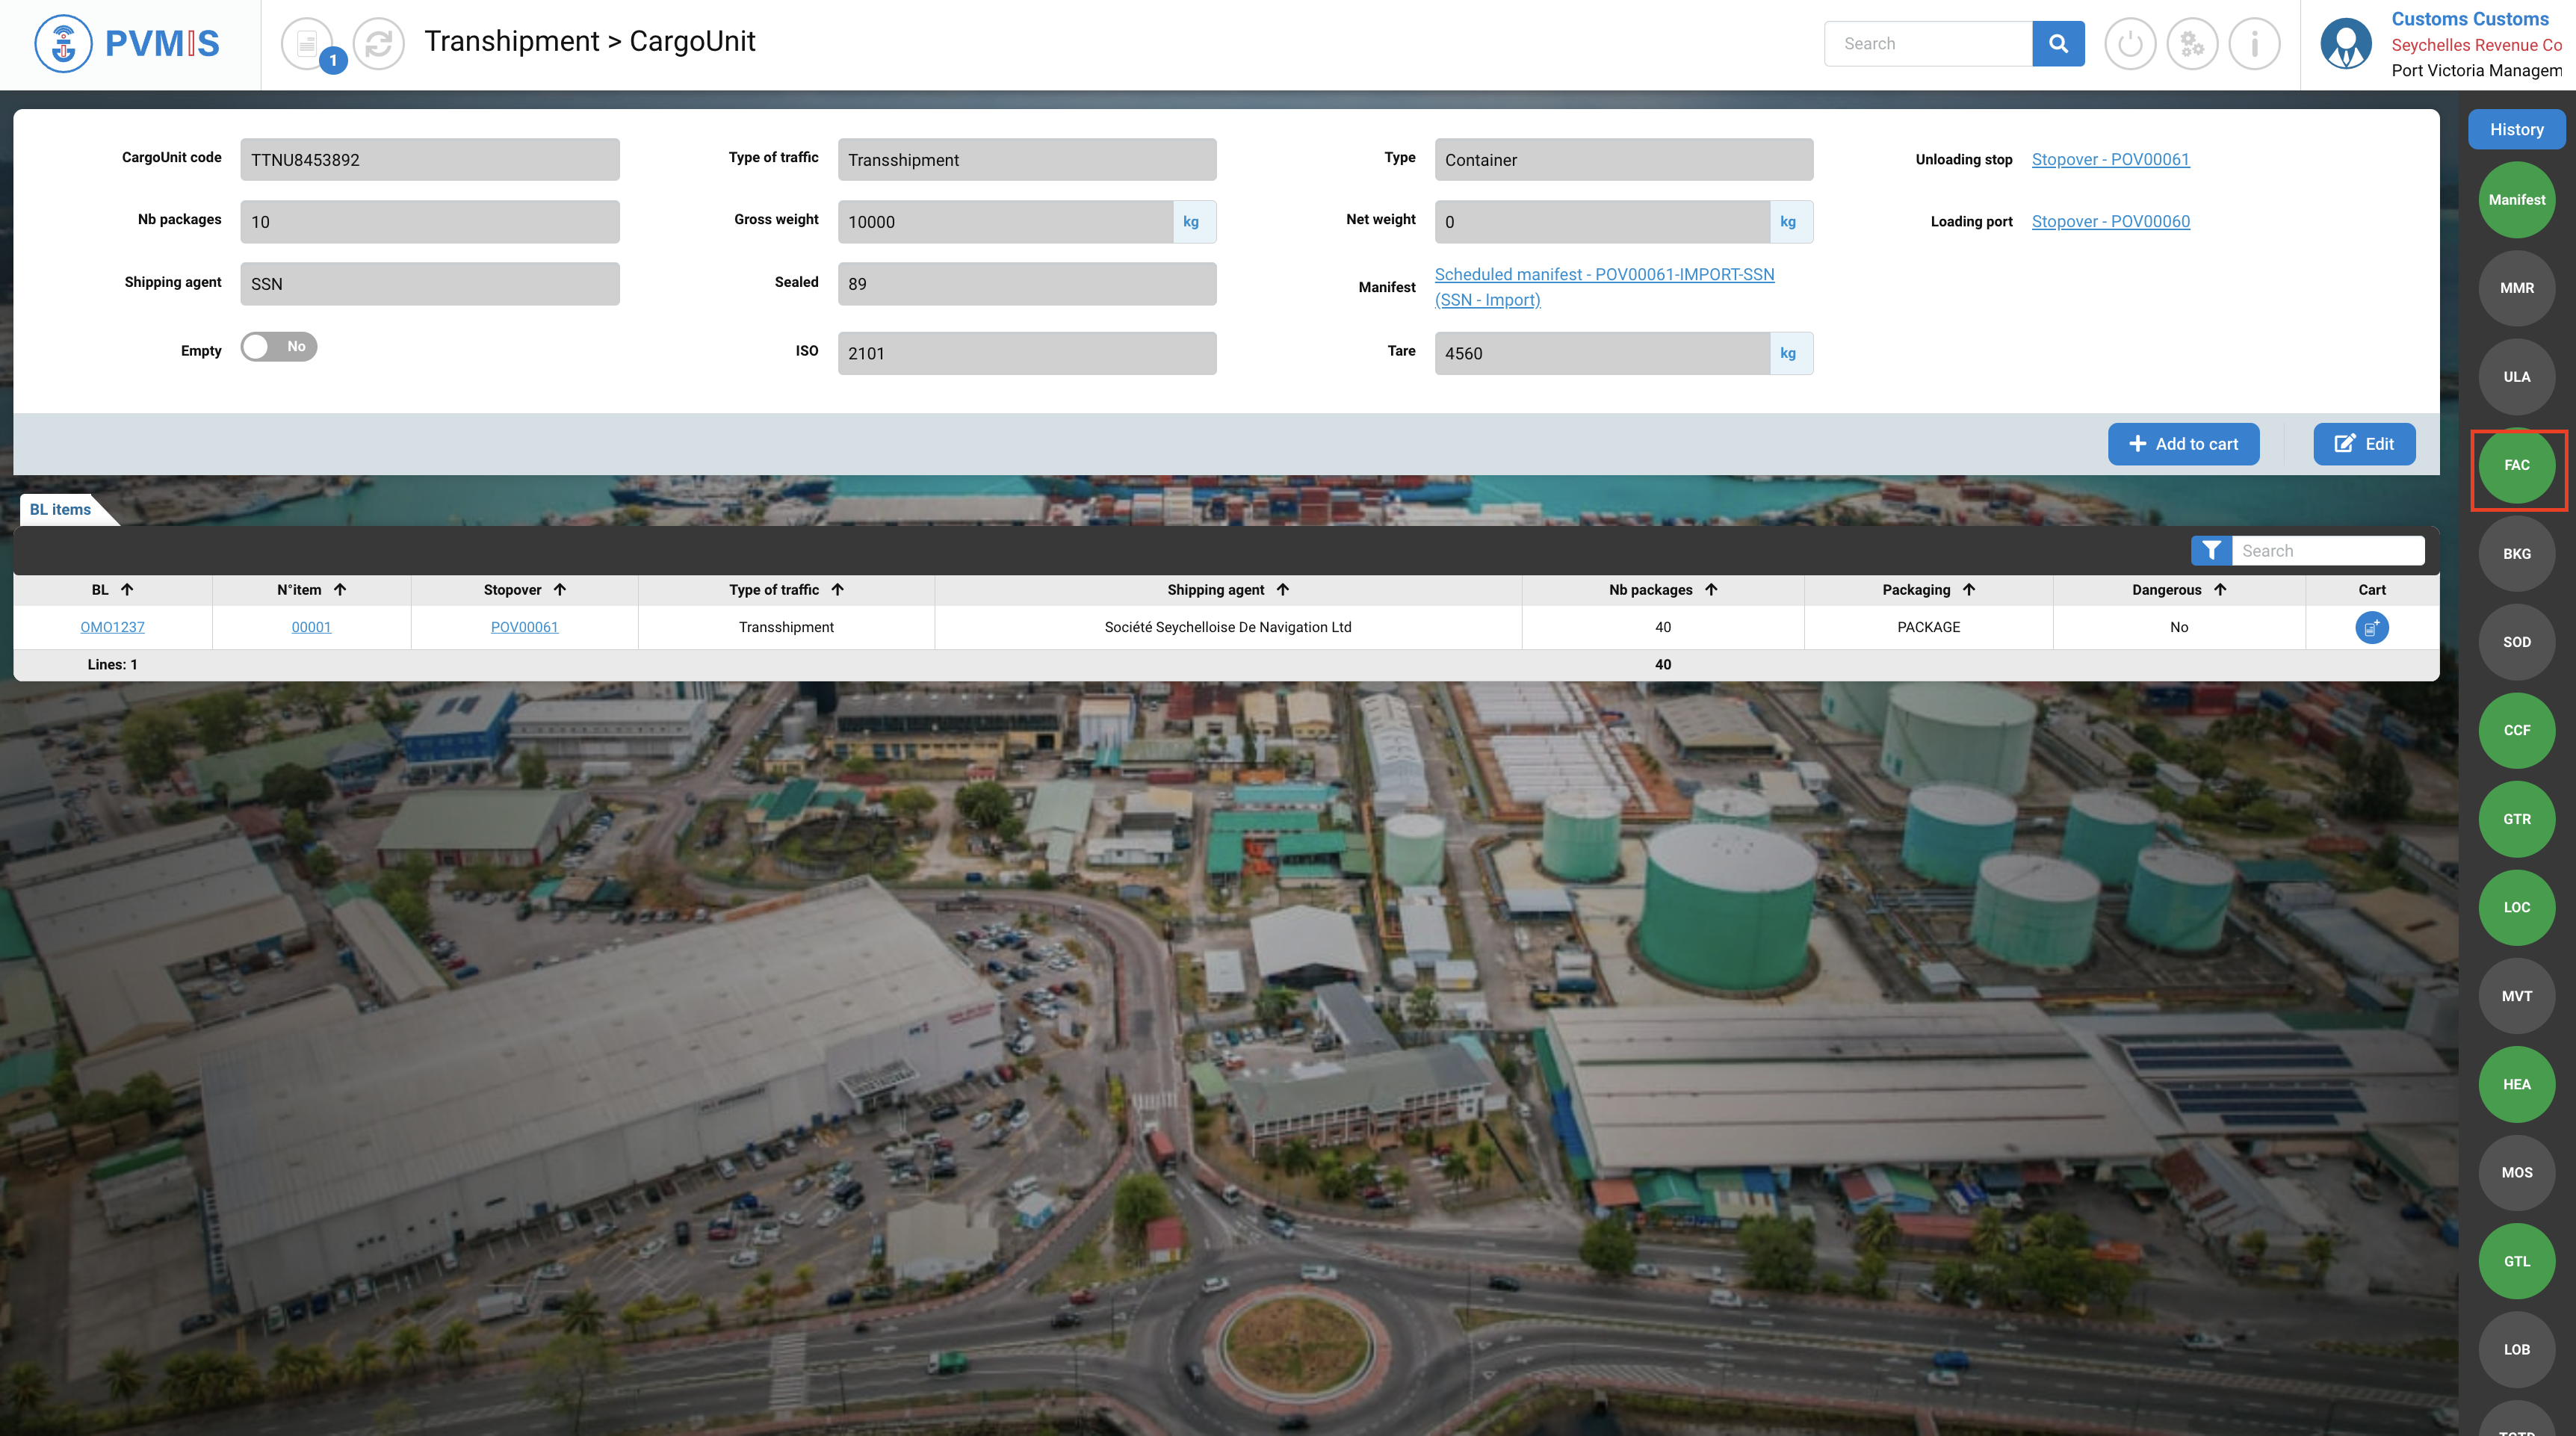
The CargoUnit is allowed to be loaded (FAC and GTL indicator)
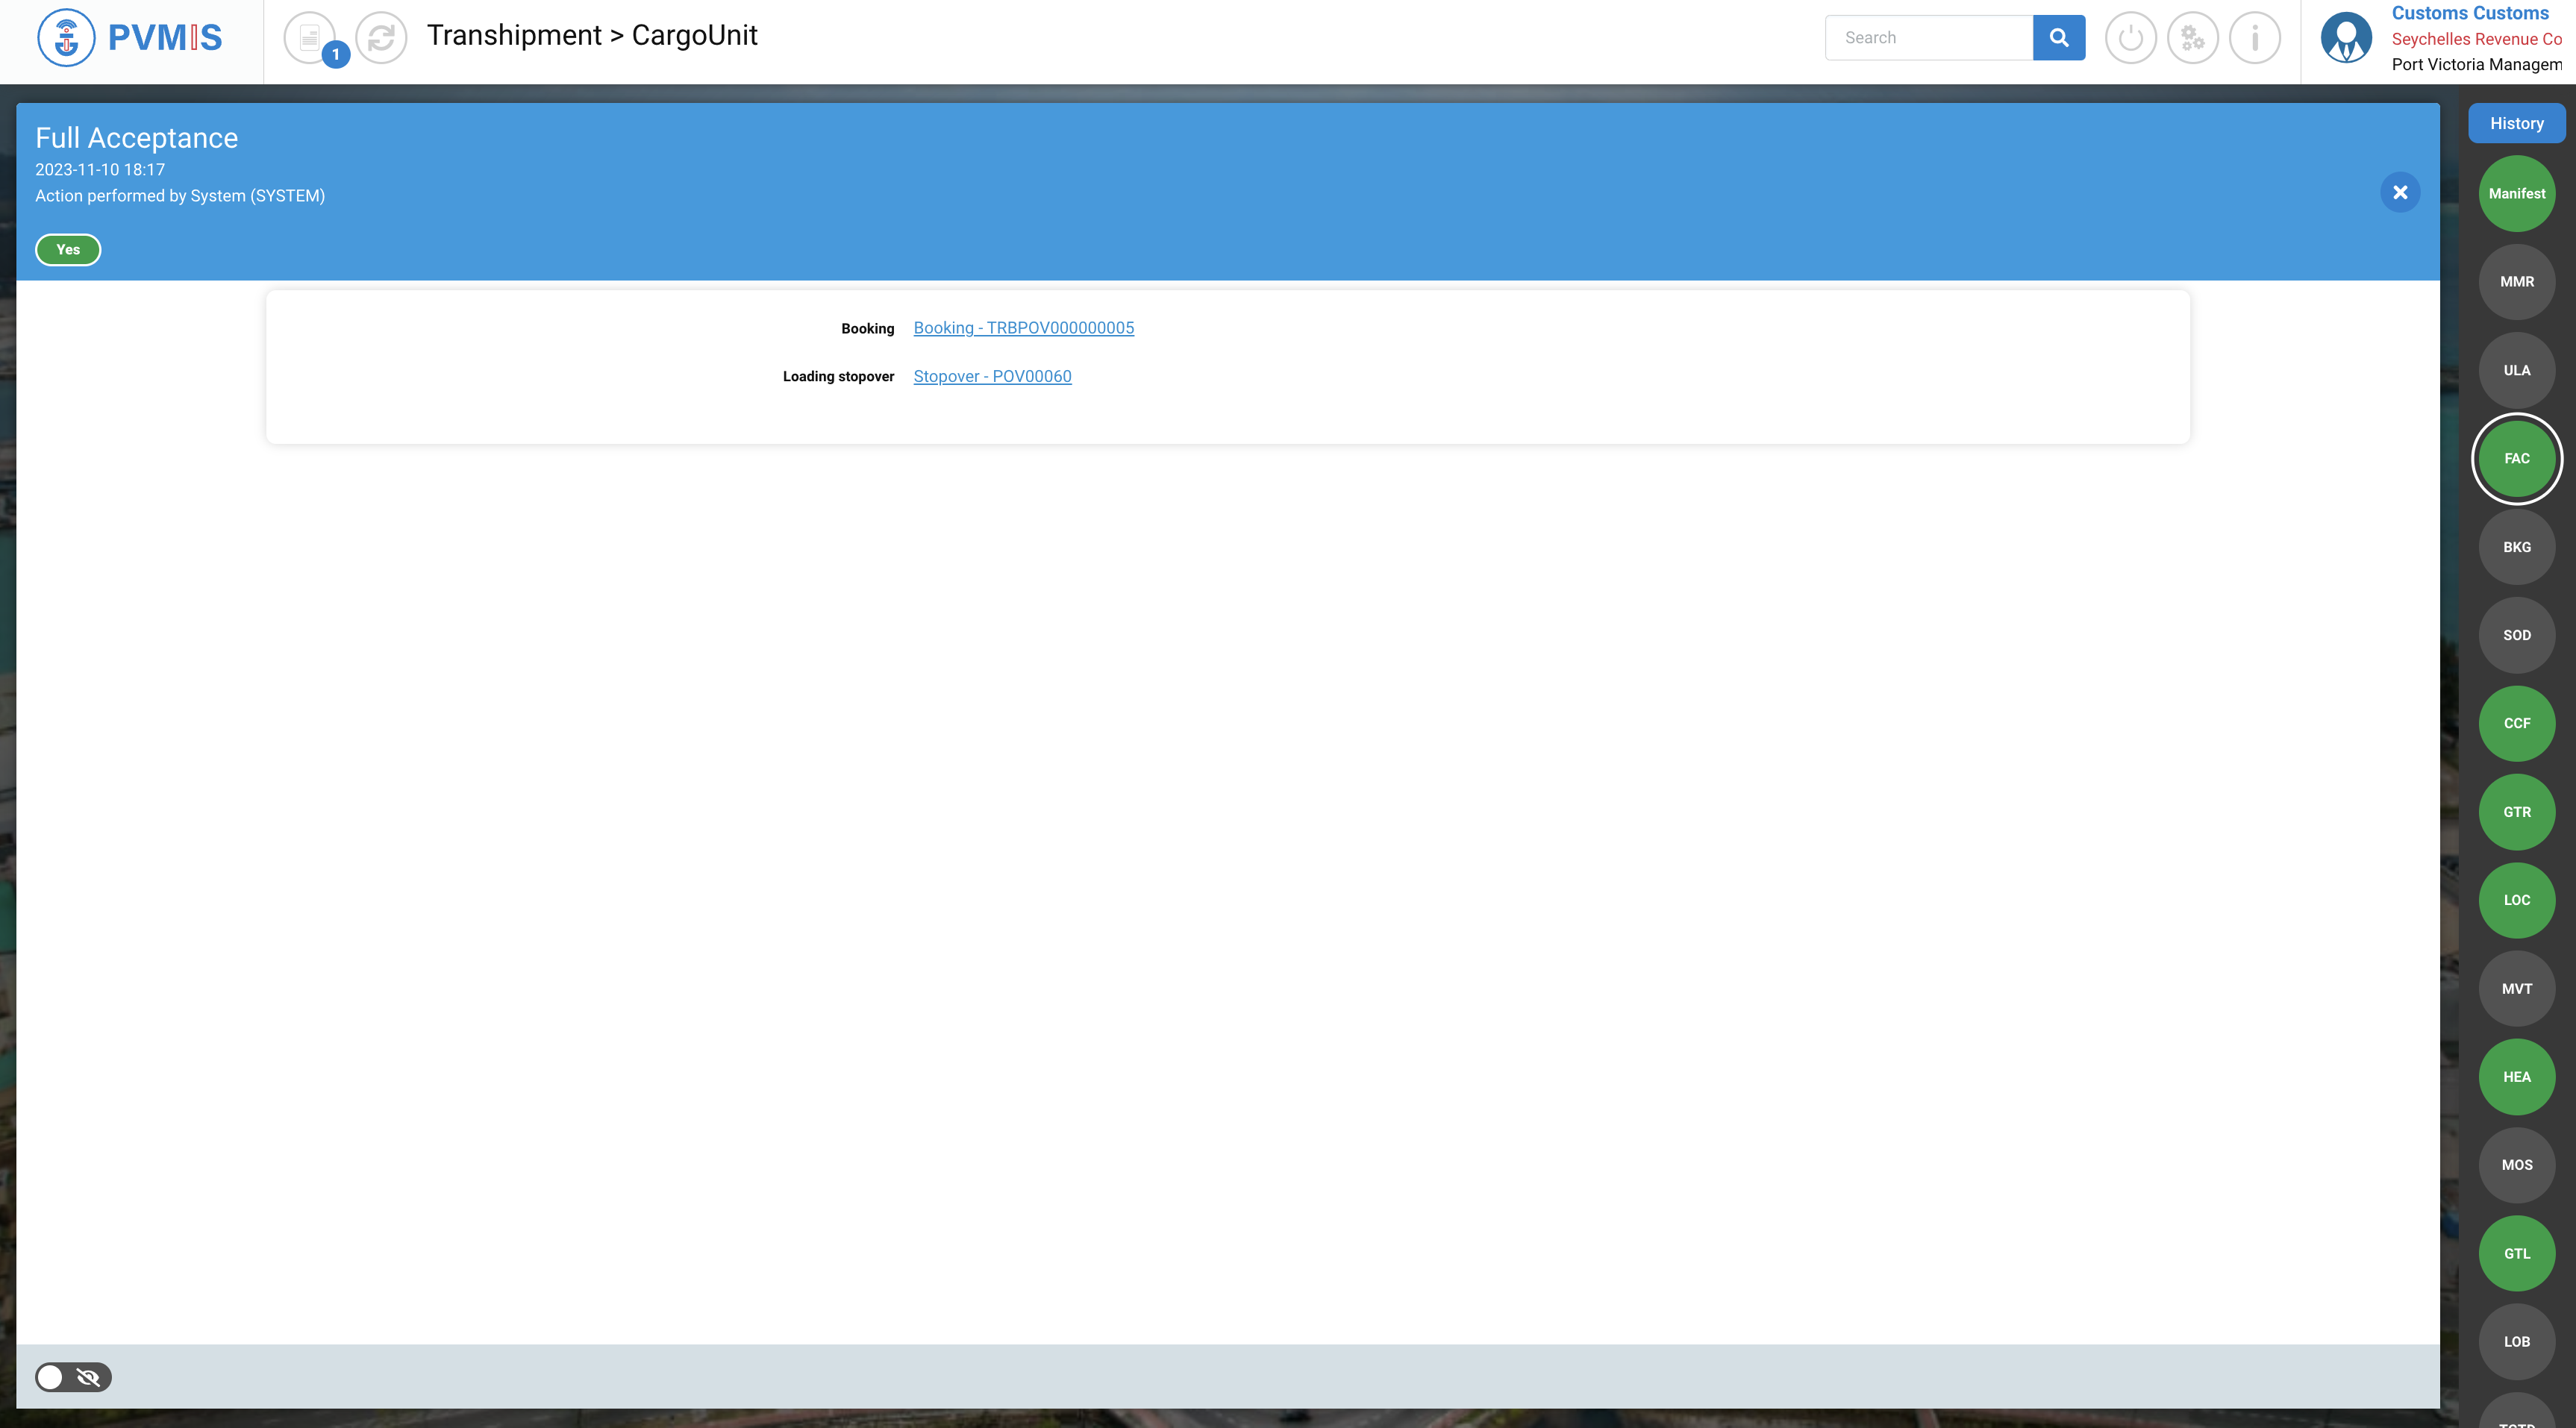
If you click on FAC (Full Acceptance) status on the right of the screen:
In the detail of the FAC status you have two information:
-
The link of the Booking which it was integrated
-
The link of the stopover which it will load