|
Actors |
Customs Broker / Claimant / Shipping Agent ( only for Empty Discharge Request) |
|---|---|
|
Description |
Create folder from the cart. |
|
Visibility rights |
|
The objective of selection by cart allows the shipping agent to change traffic type to several BLs at the same time.
First, you need to access the list of the CargoUnit:
From the Freight forwarder tracking menu (IMPORT process)
Click on Freight forwarder tracking menu in the Import section:
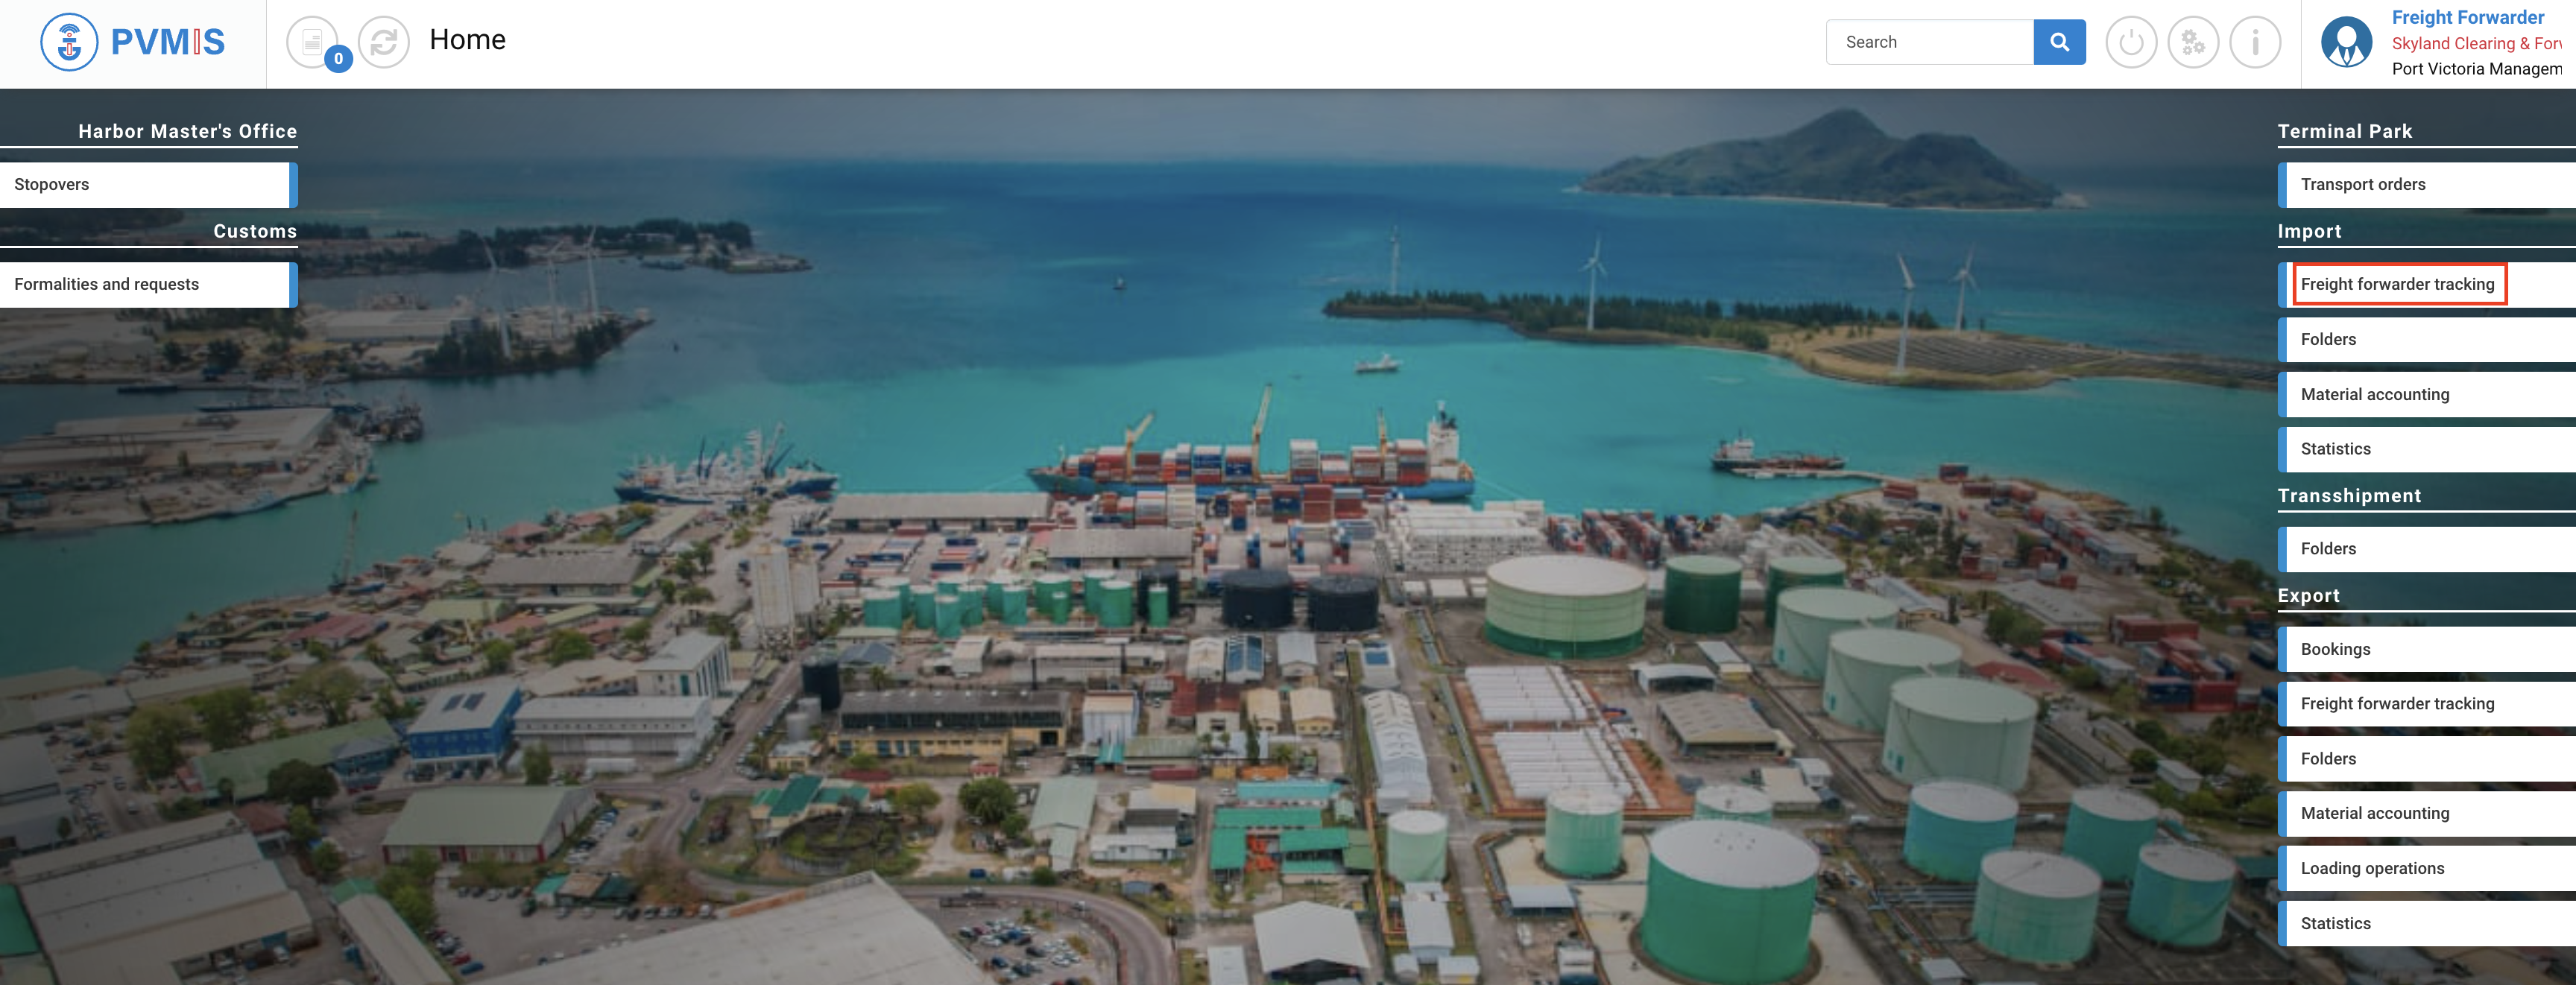
You can consult the list of the CargoUnit:
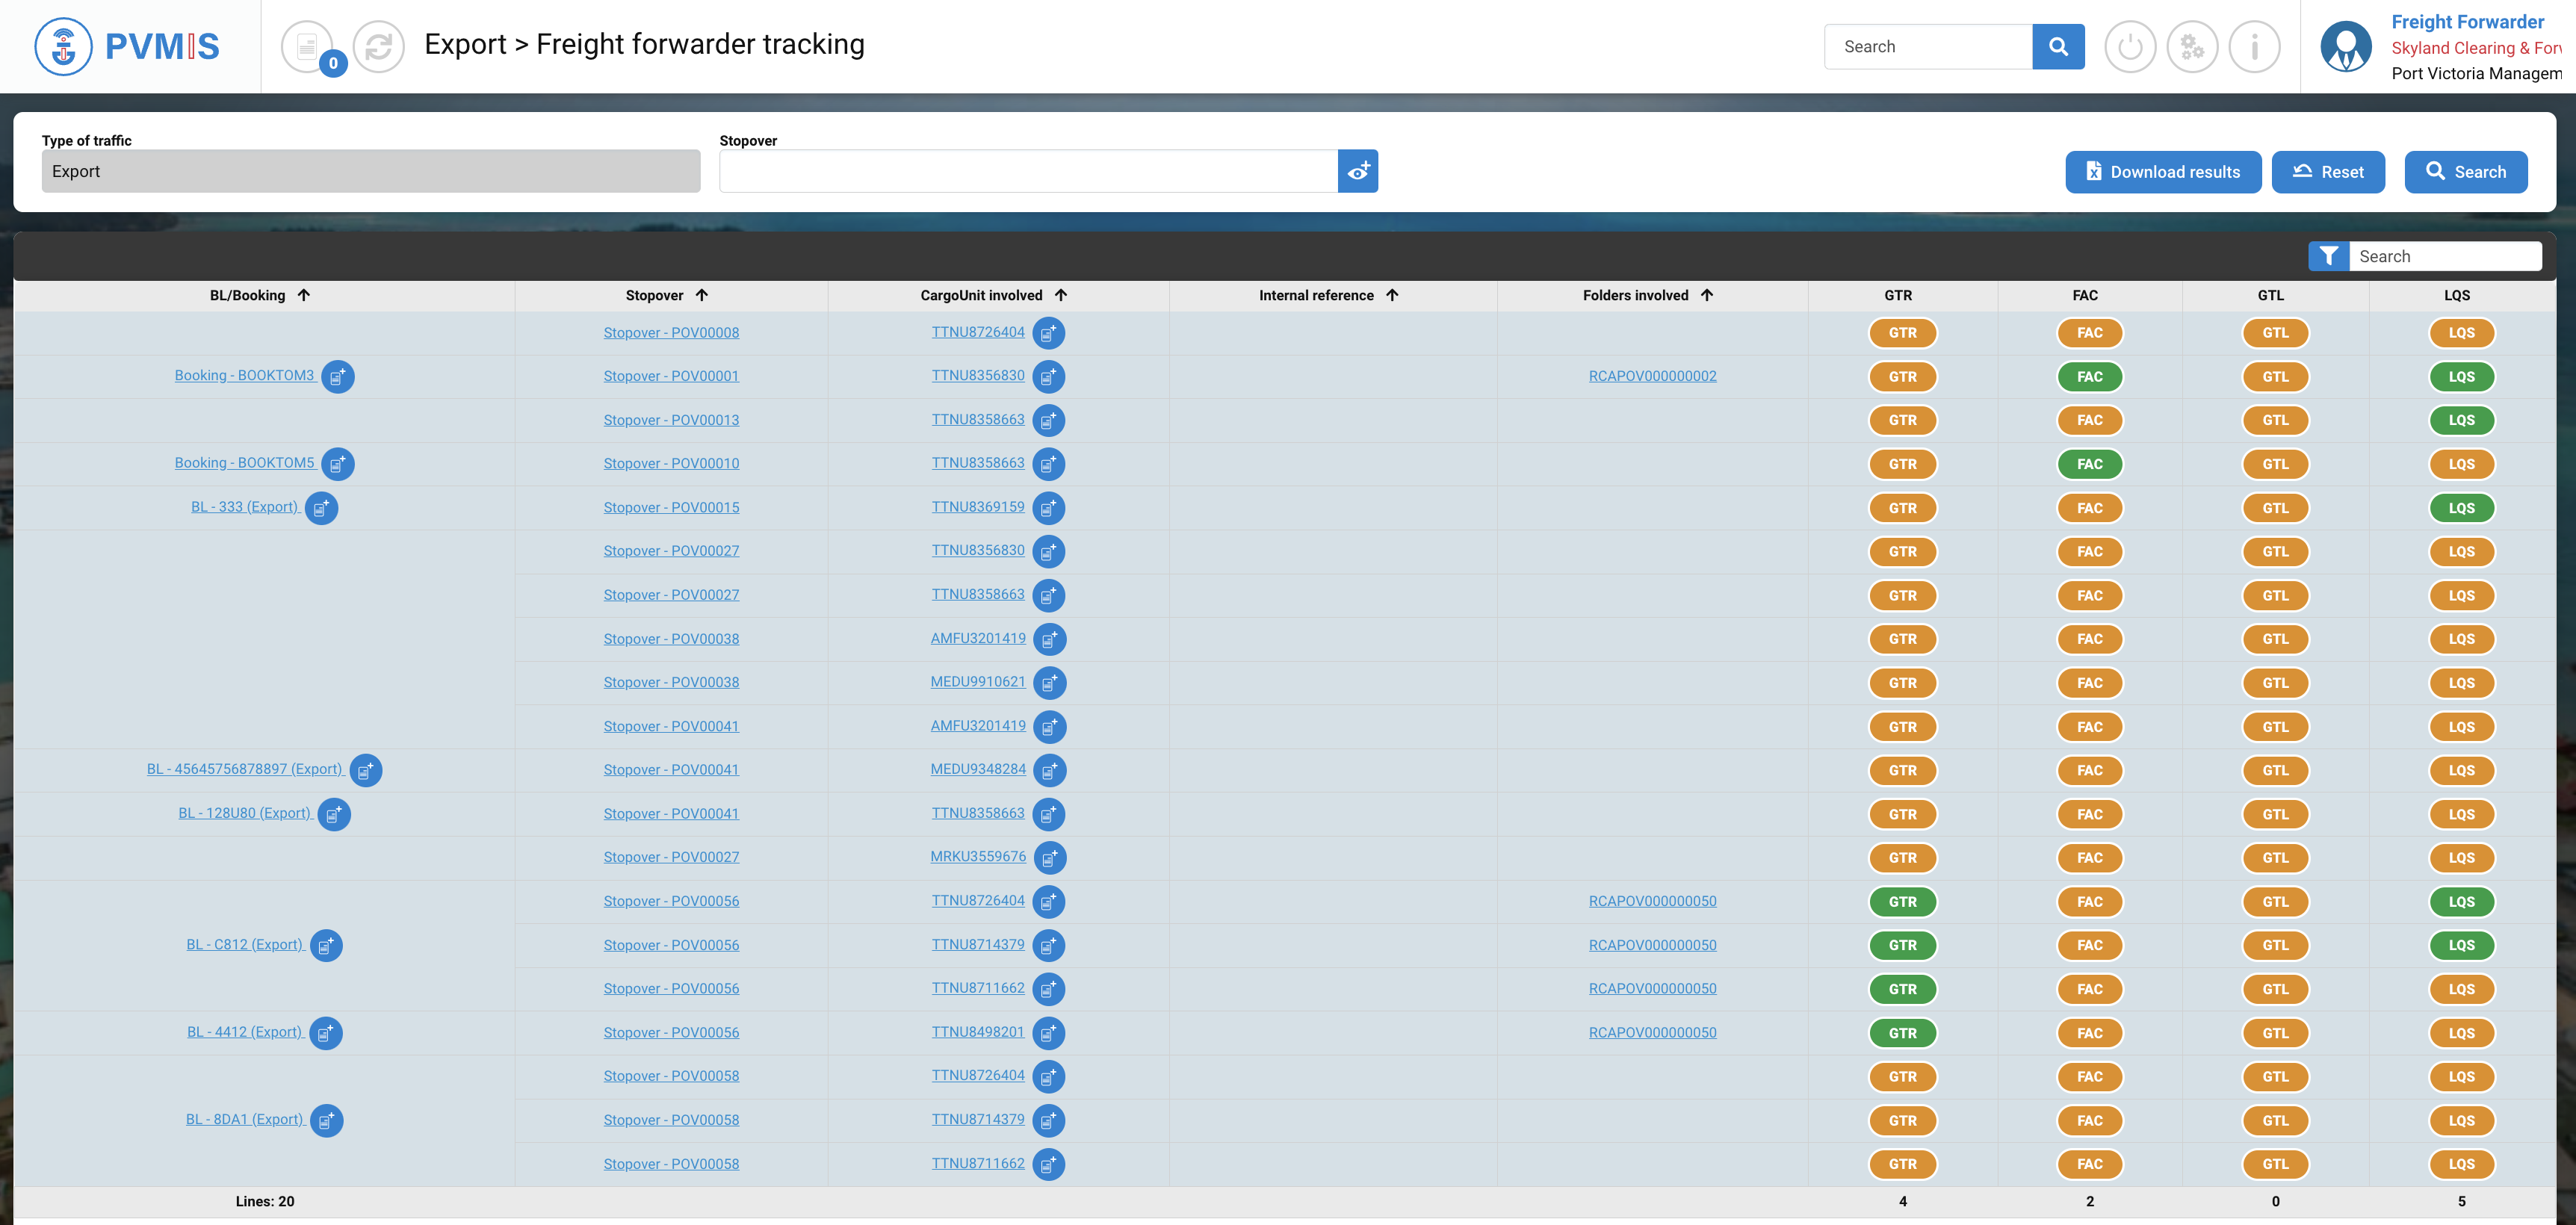
From the Freight forwarder tracking menu (EXPORT process)
Click on the Freight forwarder tracking menu in the Export section:
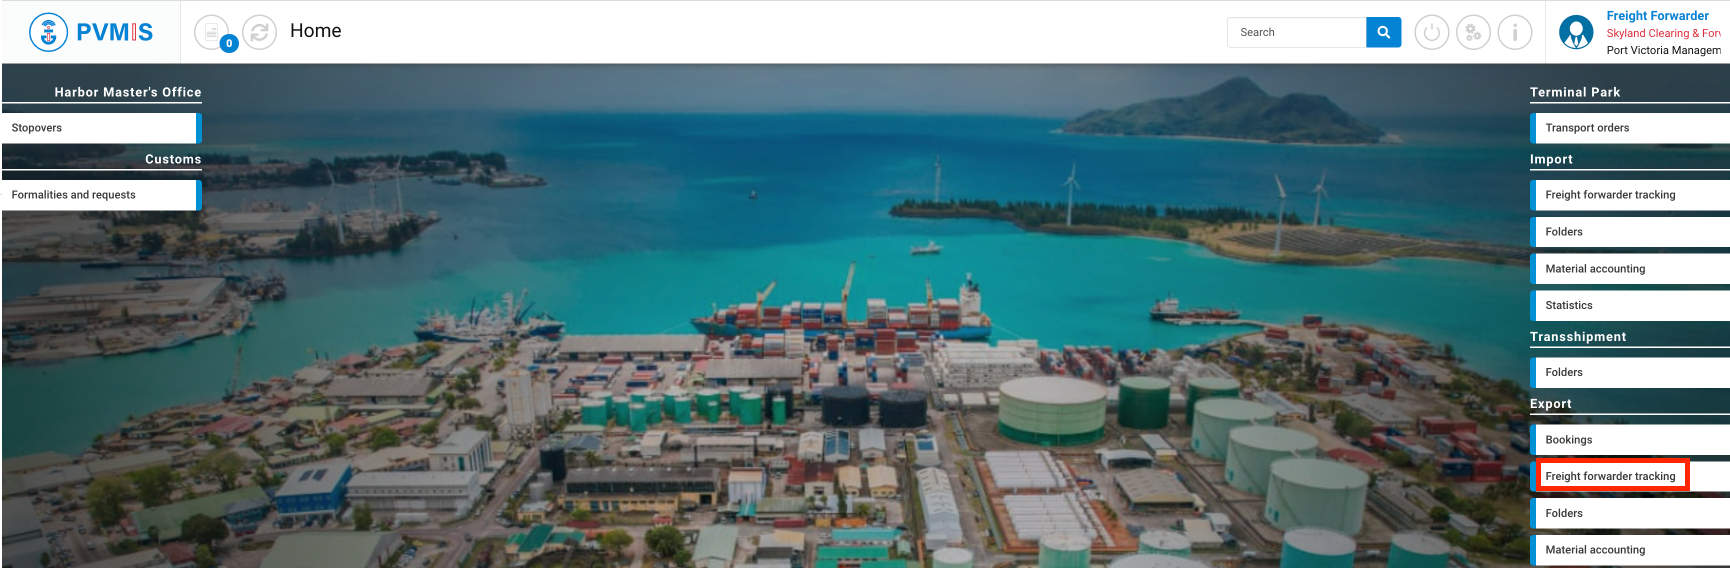
You can consult the list of the CargoUnit:
Select CargoUnit
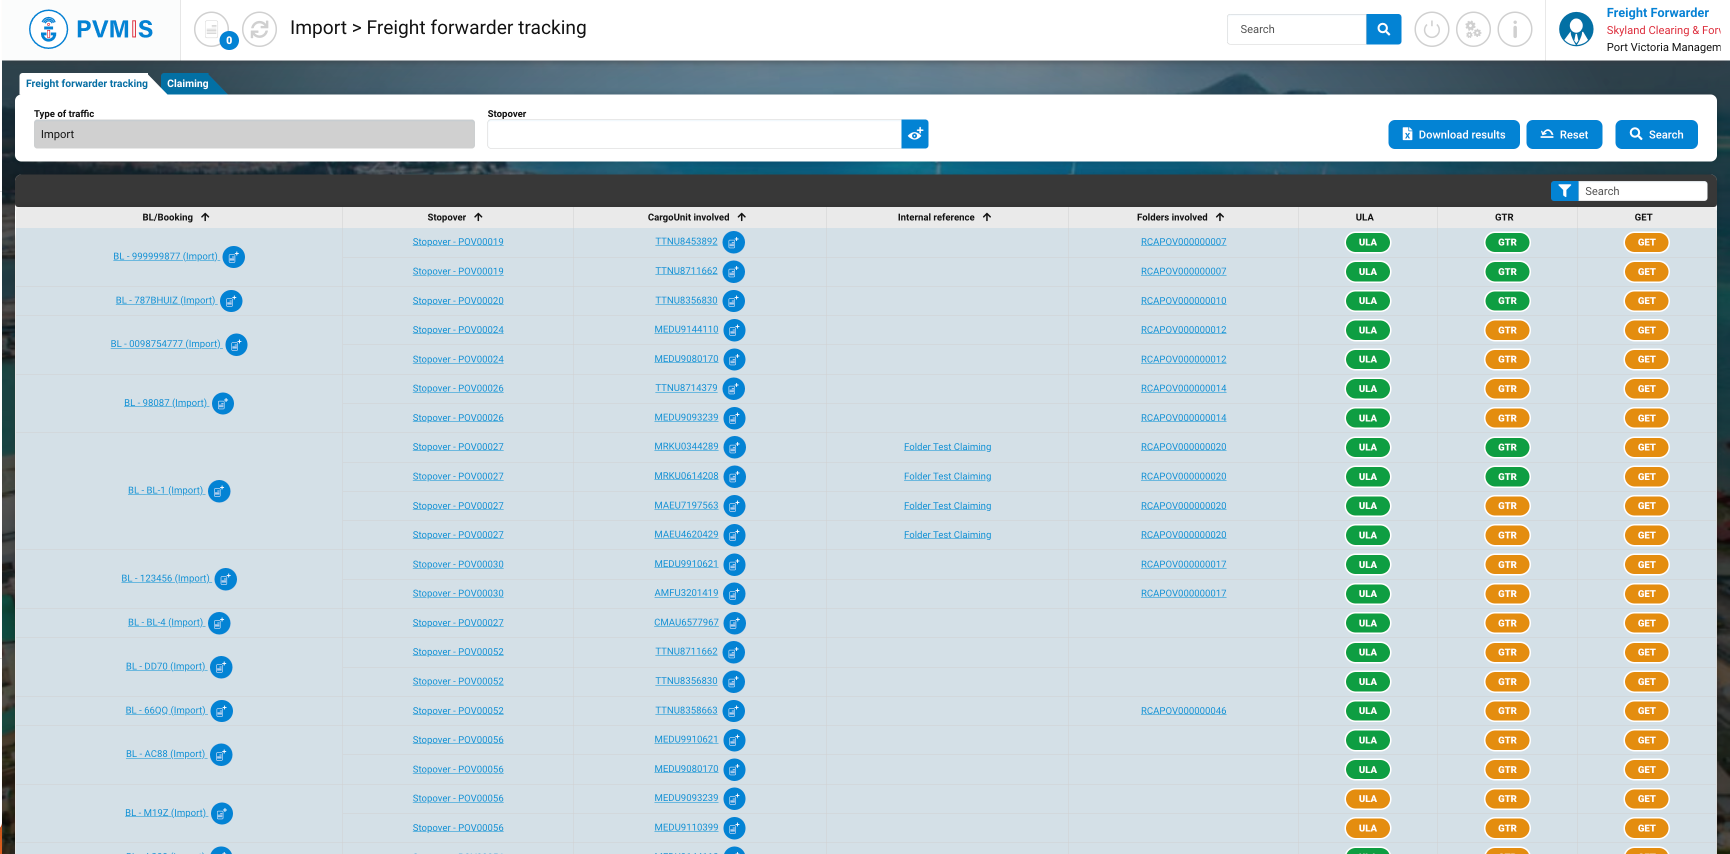
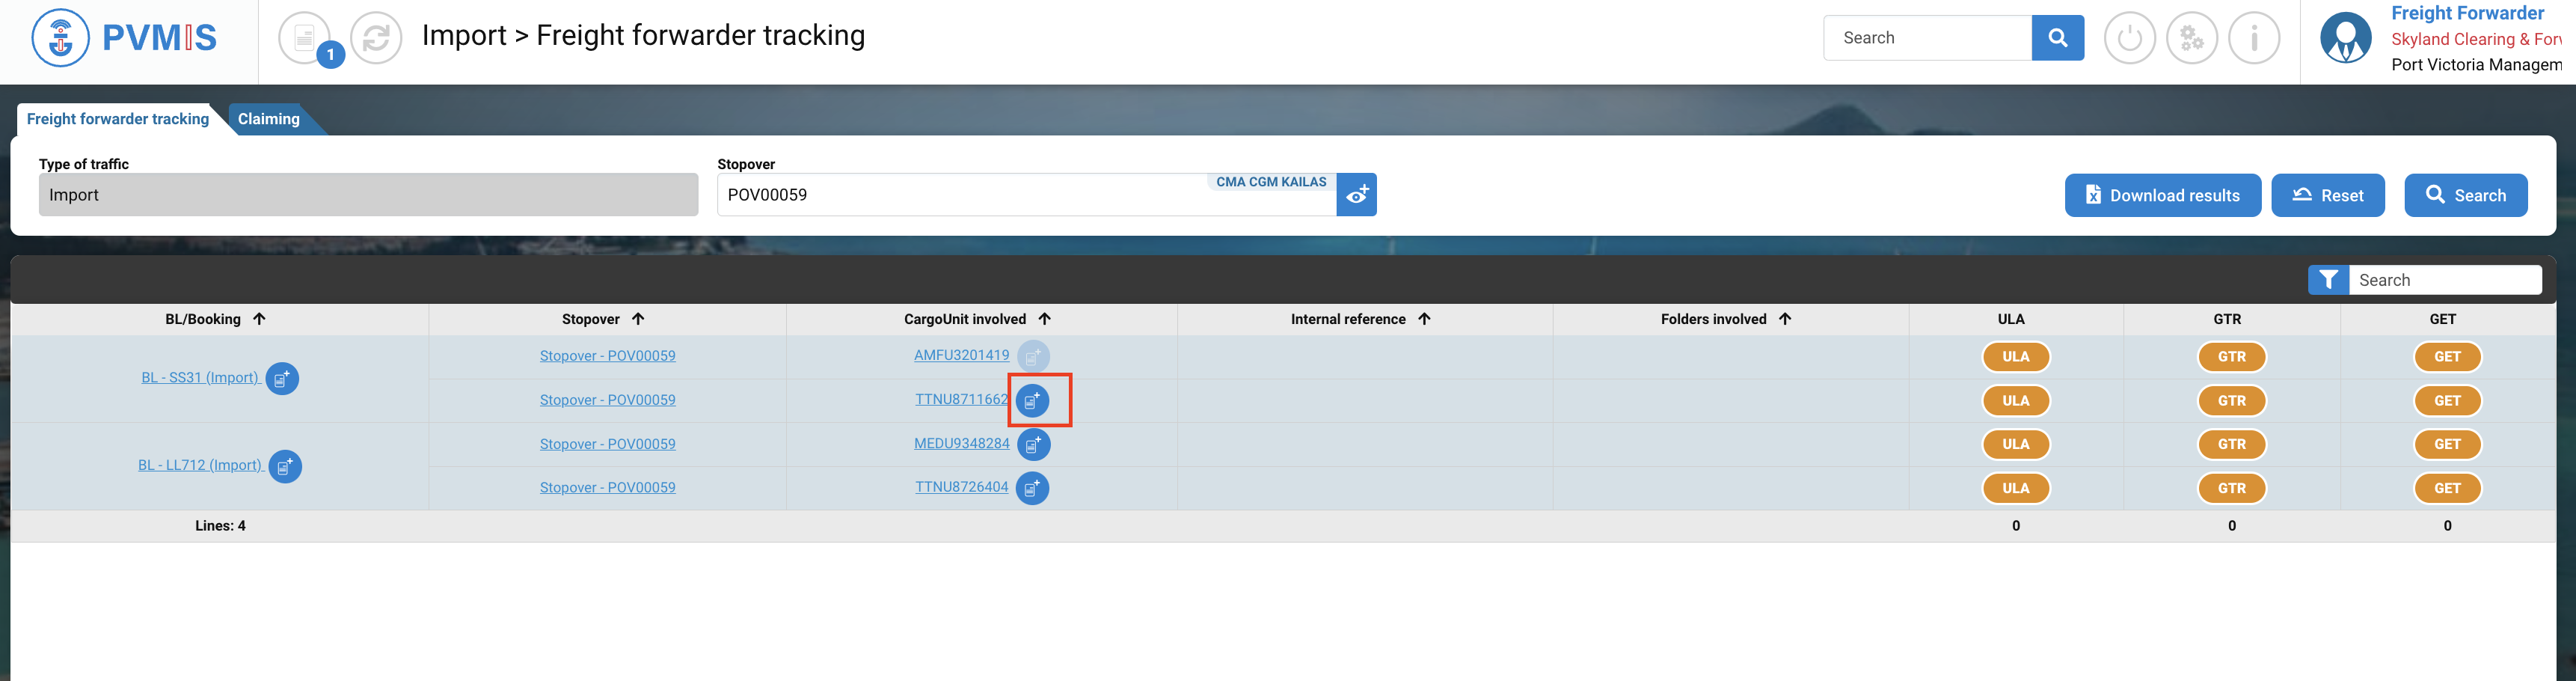
In the Freight forwarder tracking menu, you can filter the research by the number of the stopover:
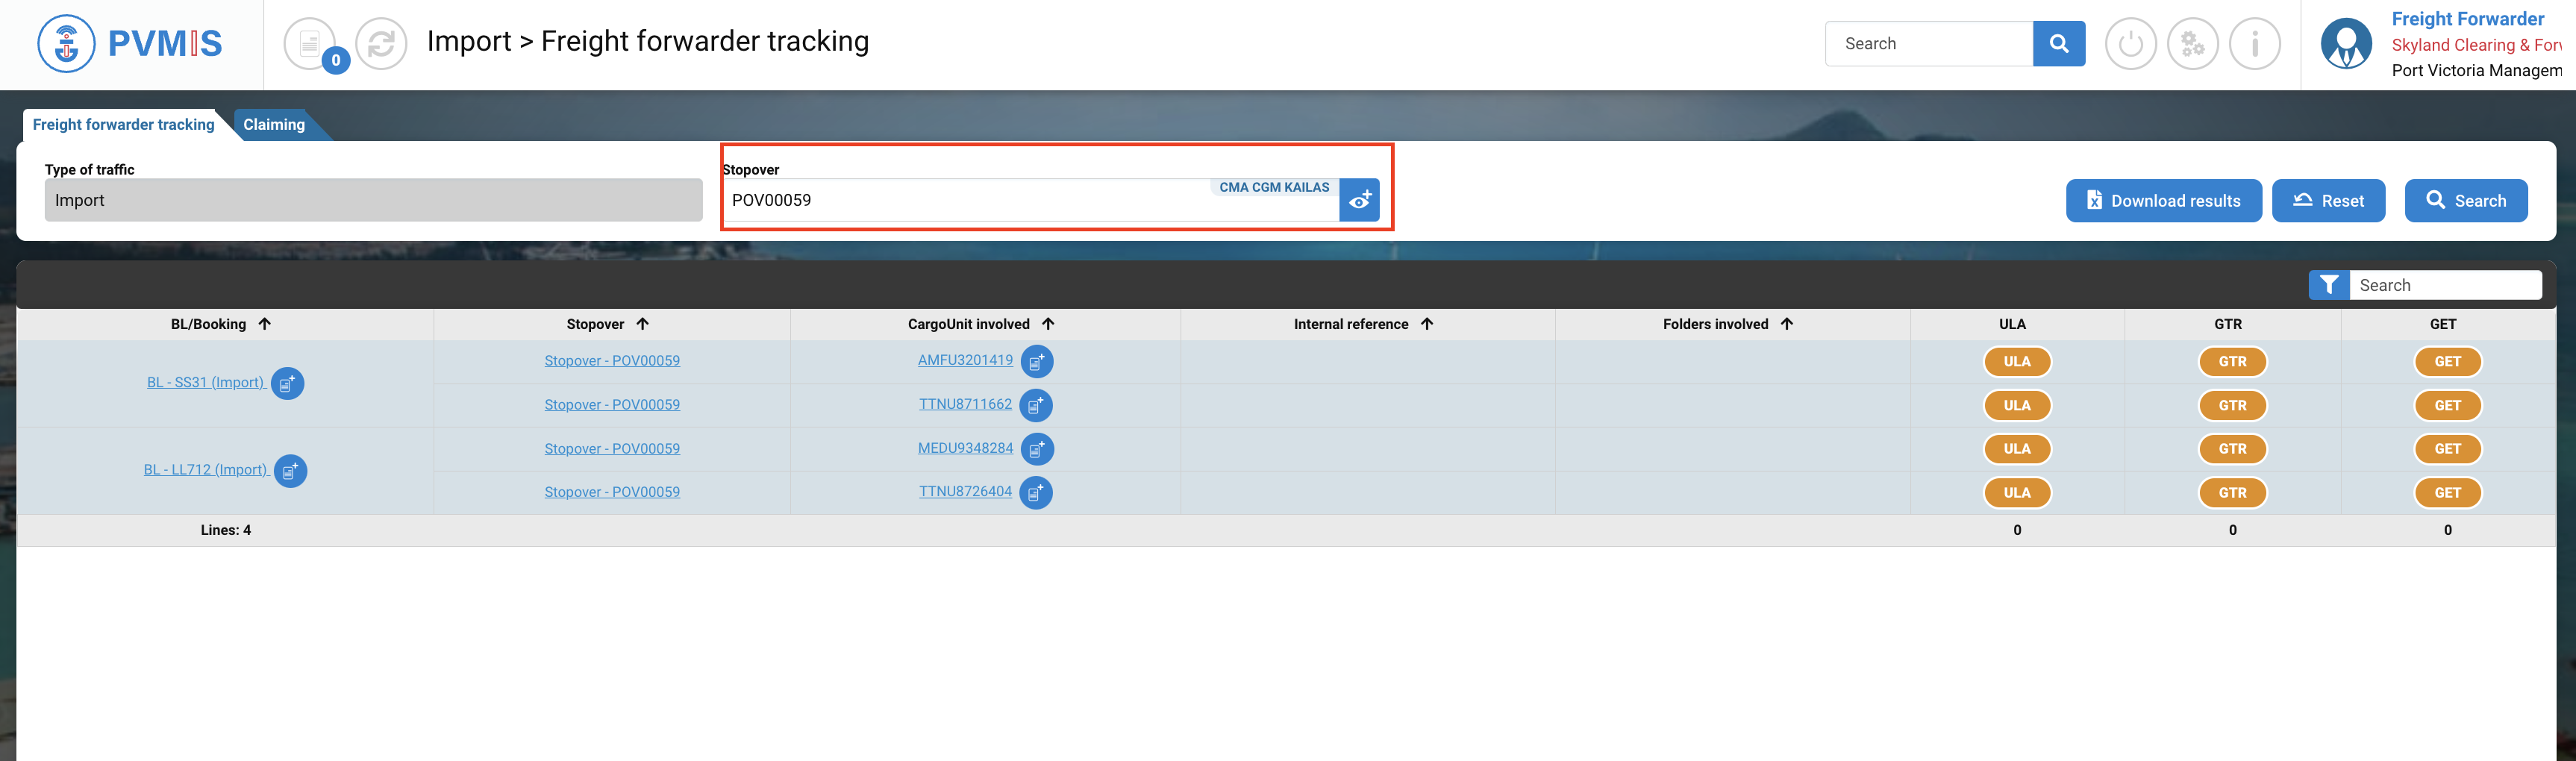
This is the list of CargoUnit present in the stopover is display. This table indicates:
-
BL associated for each CargoUnit
-
The stopover associated
-
The internal reference
-
The link of the folders if it was created
-
ULA status : when it will turn green, means that it was unload
-
GTR status : when it will turn green, means customs approval
-
GET status : when it will turn green, means goods can exit the terminal
-
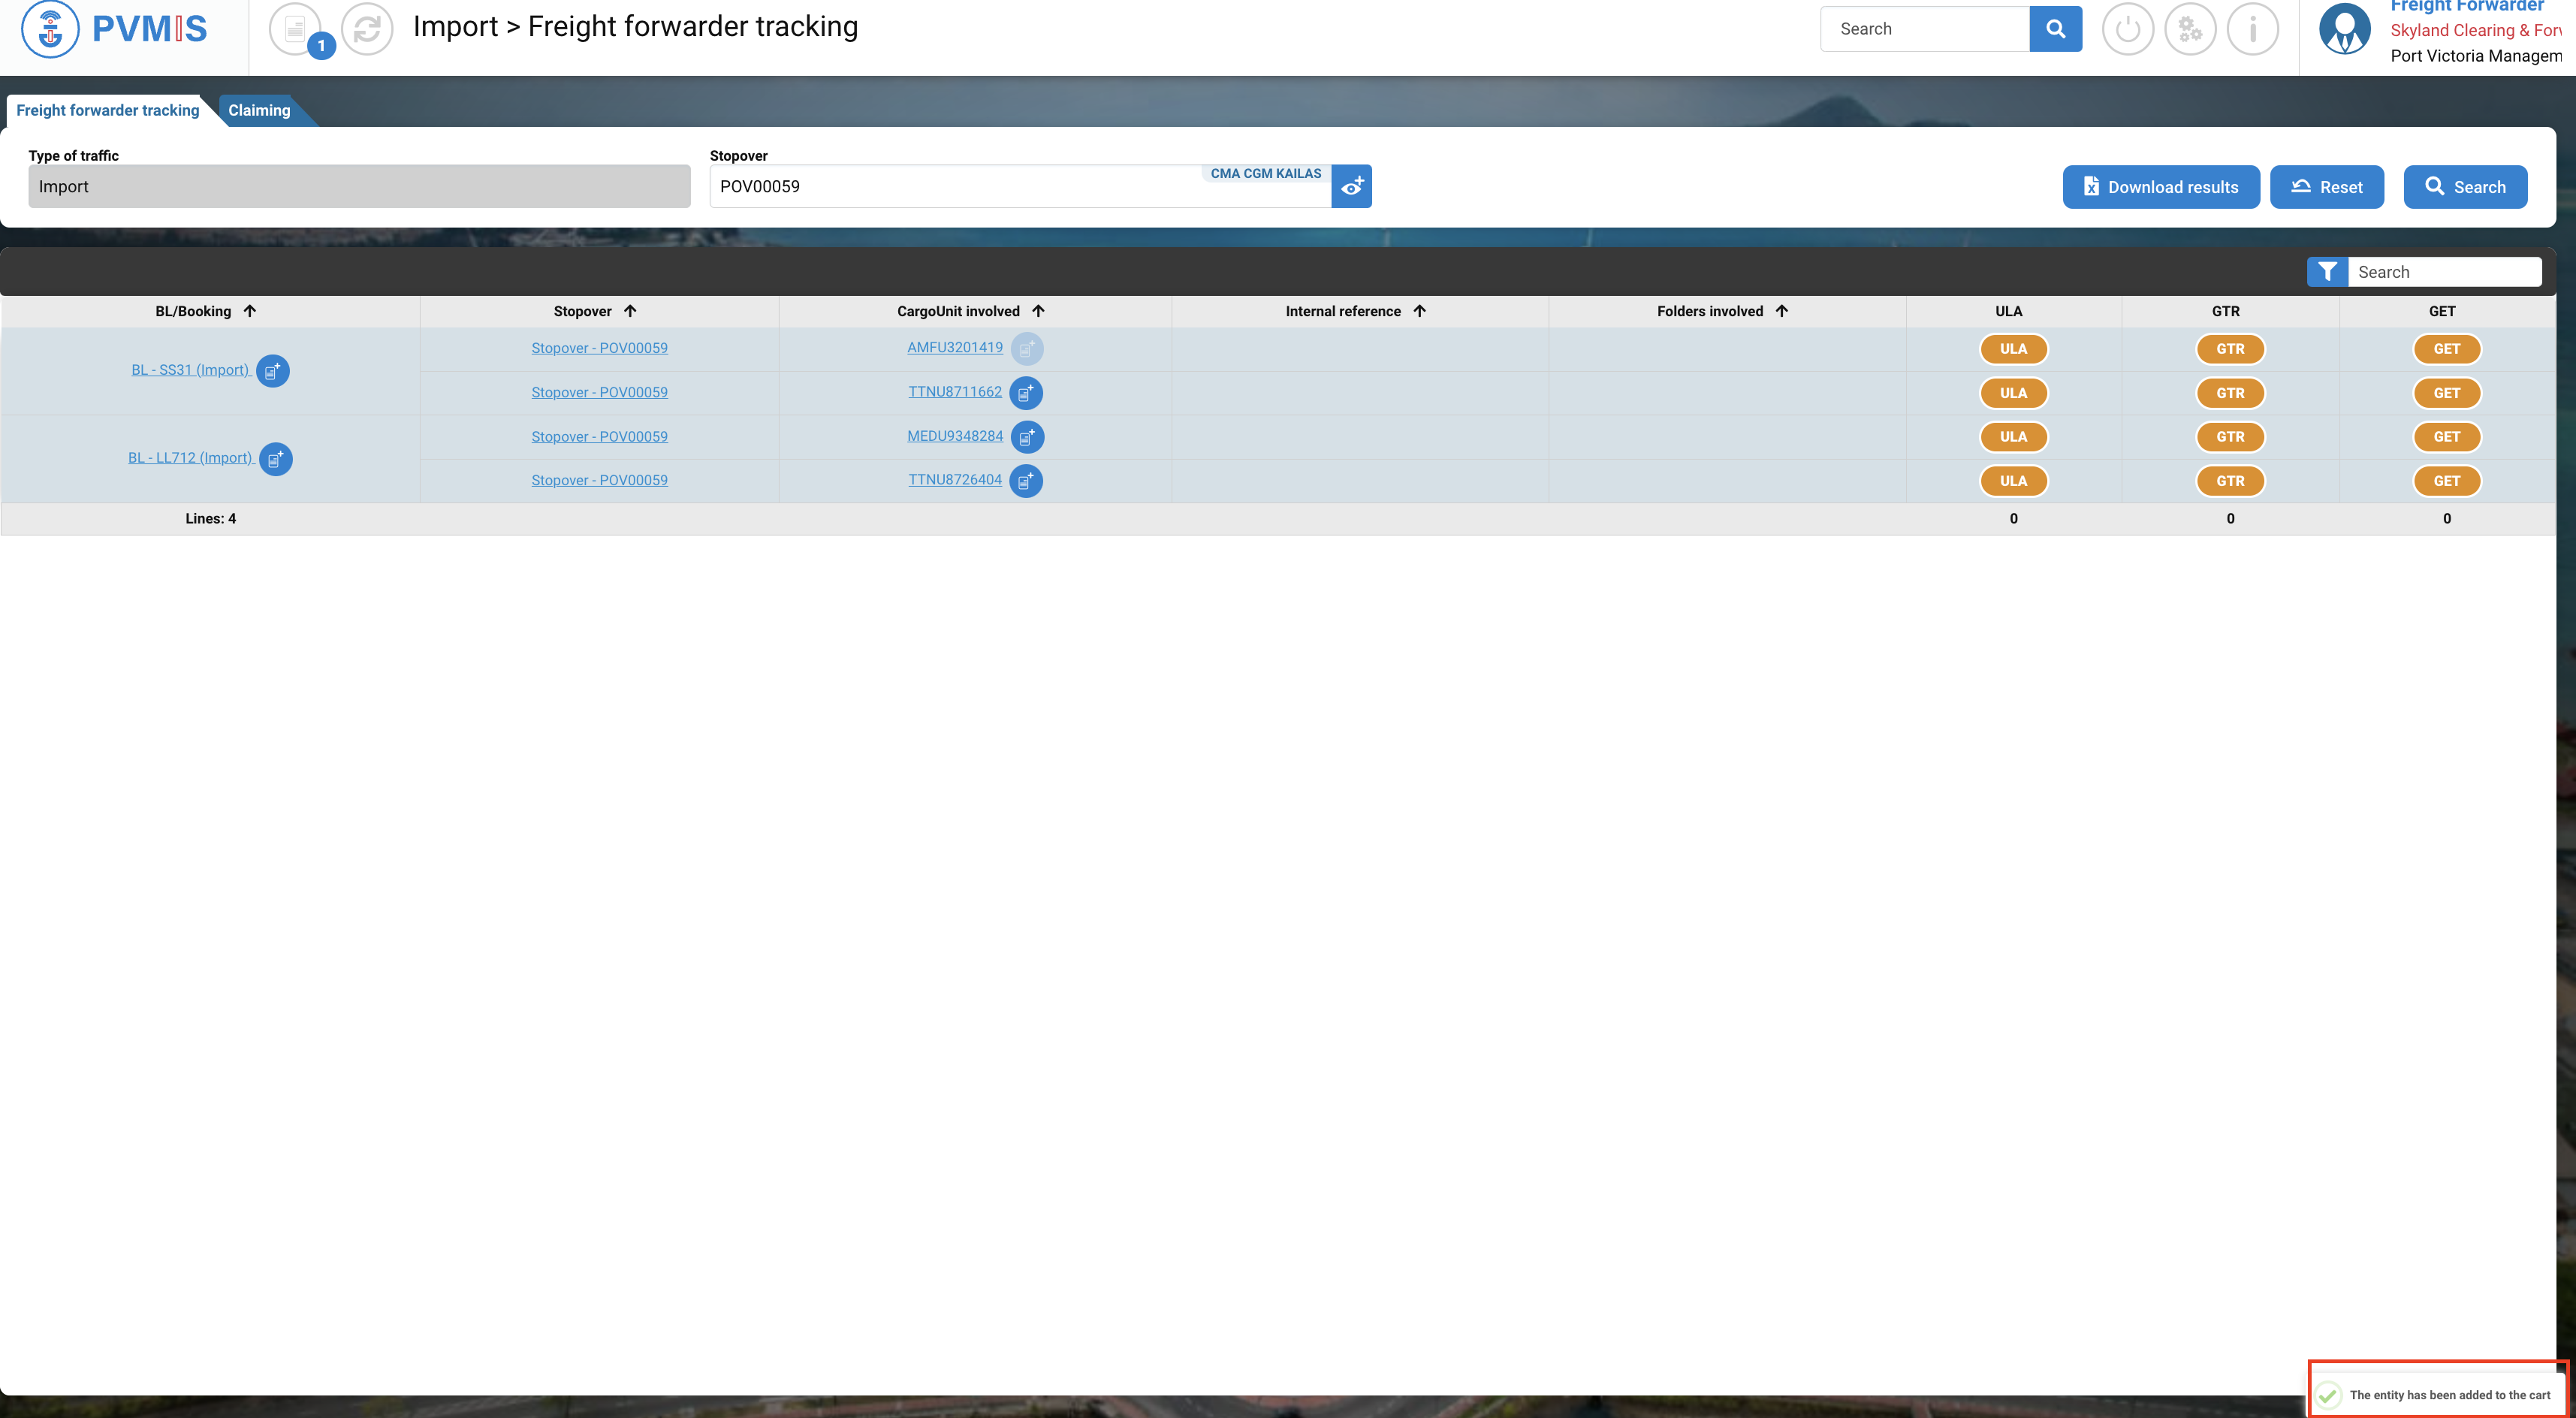
Select each CargoUnit to be included in a single folder by clicking on the Cart icon in the CargoUnit involved column:

The entity CargoUnit is added in the cart.
After clicking on Cart icon, at the right bottom a message will appear to confirm the selection of the entity:
At the top, you can see the figure 1 on the Cart icon, means that there is one entity presents in the cart.
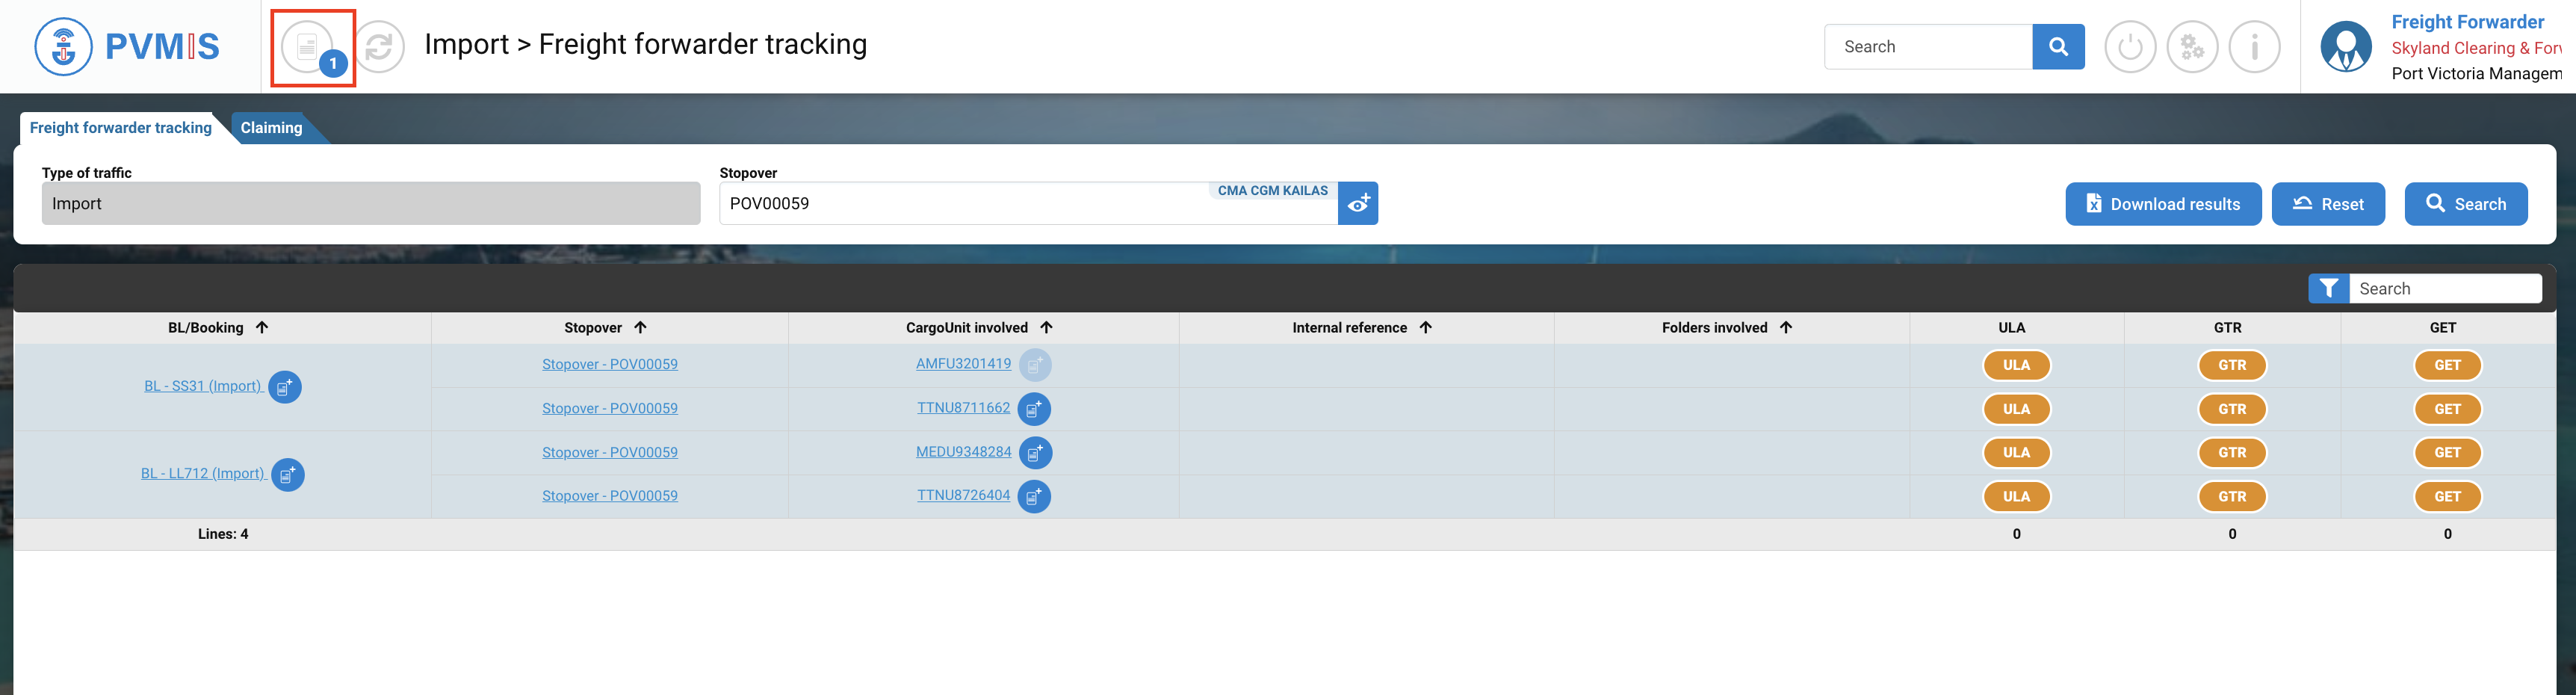
Repeat the same operation for each CargoUnit to include in a folder.
A second entity is added in the cart.

Create a folder
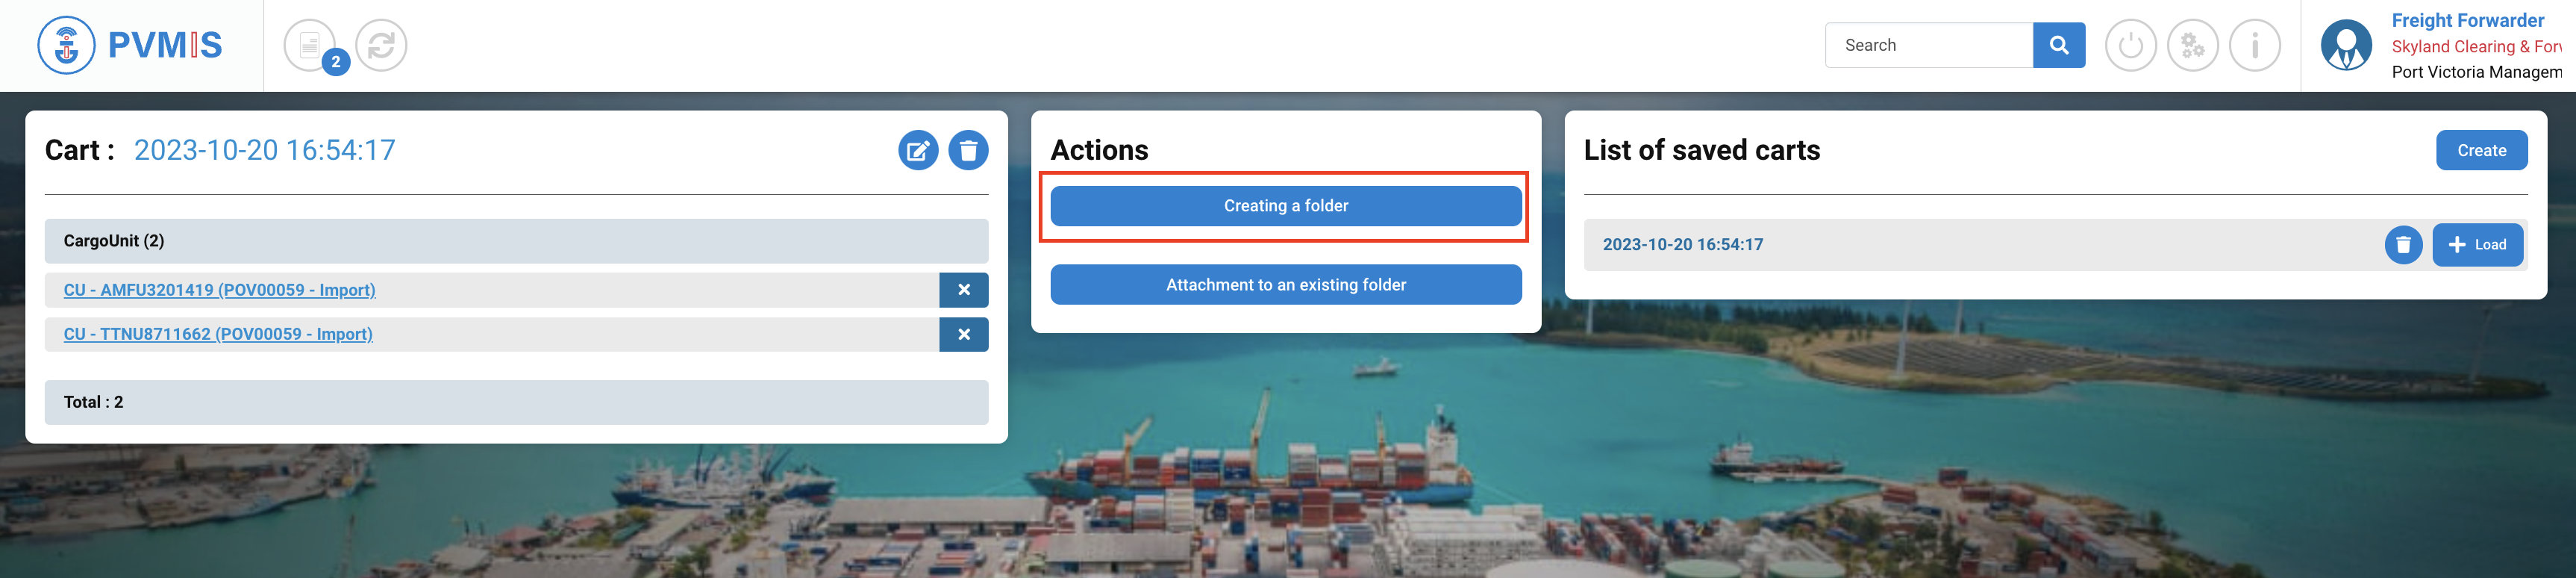
After selecting CargoUnit, click on Cart icon at the top:
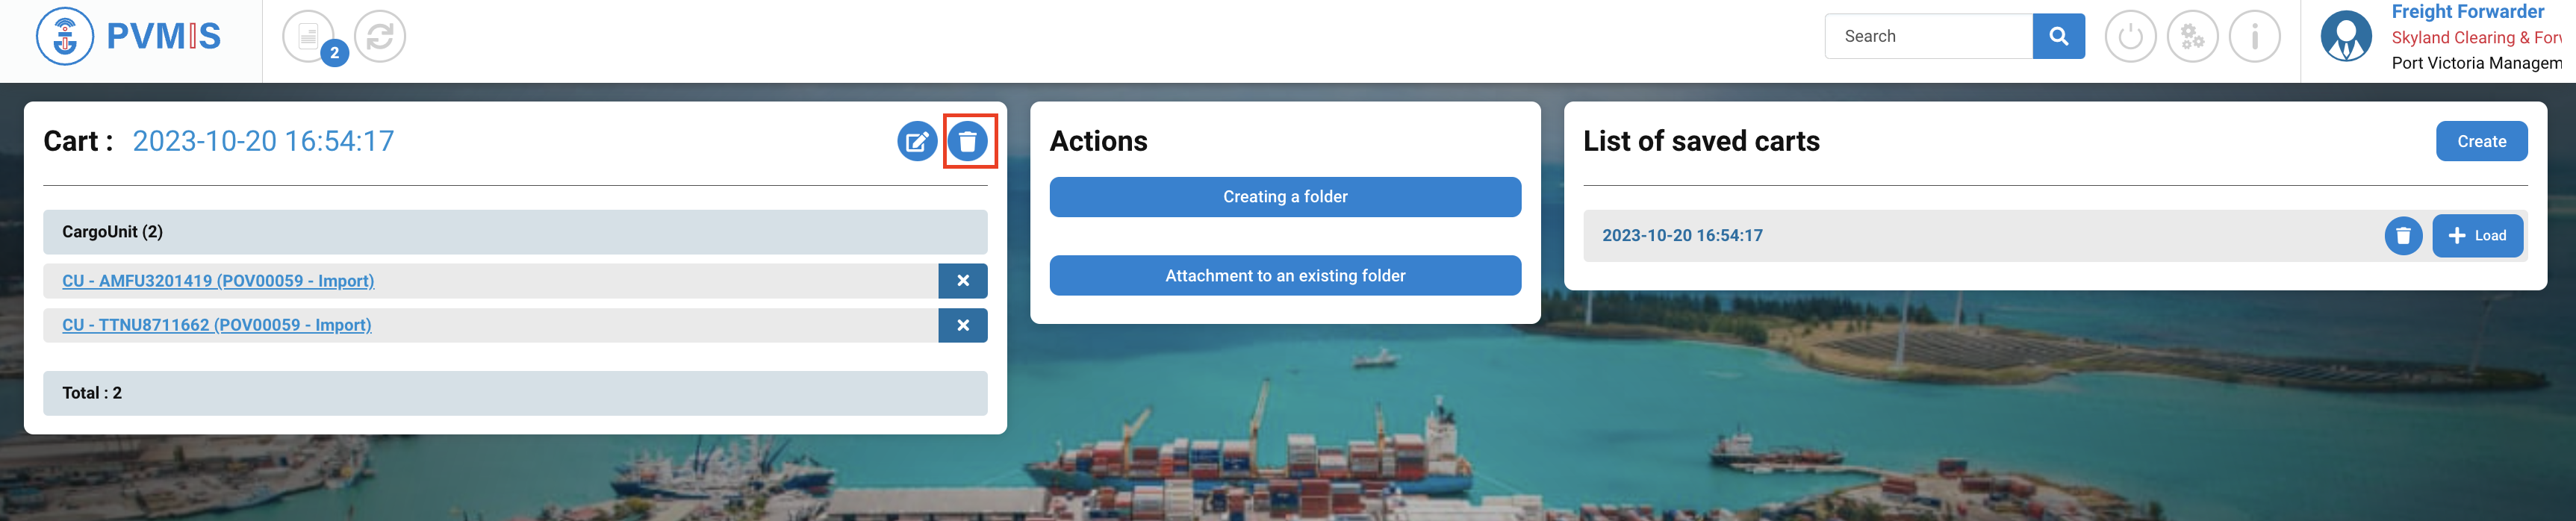
In the Cart, you can see in the left column the presence of the both CargoUnit entities, and on the Actions column click on Creating a folder button:
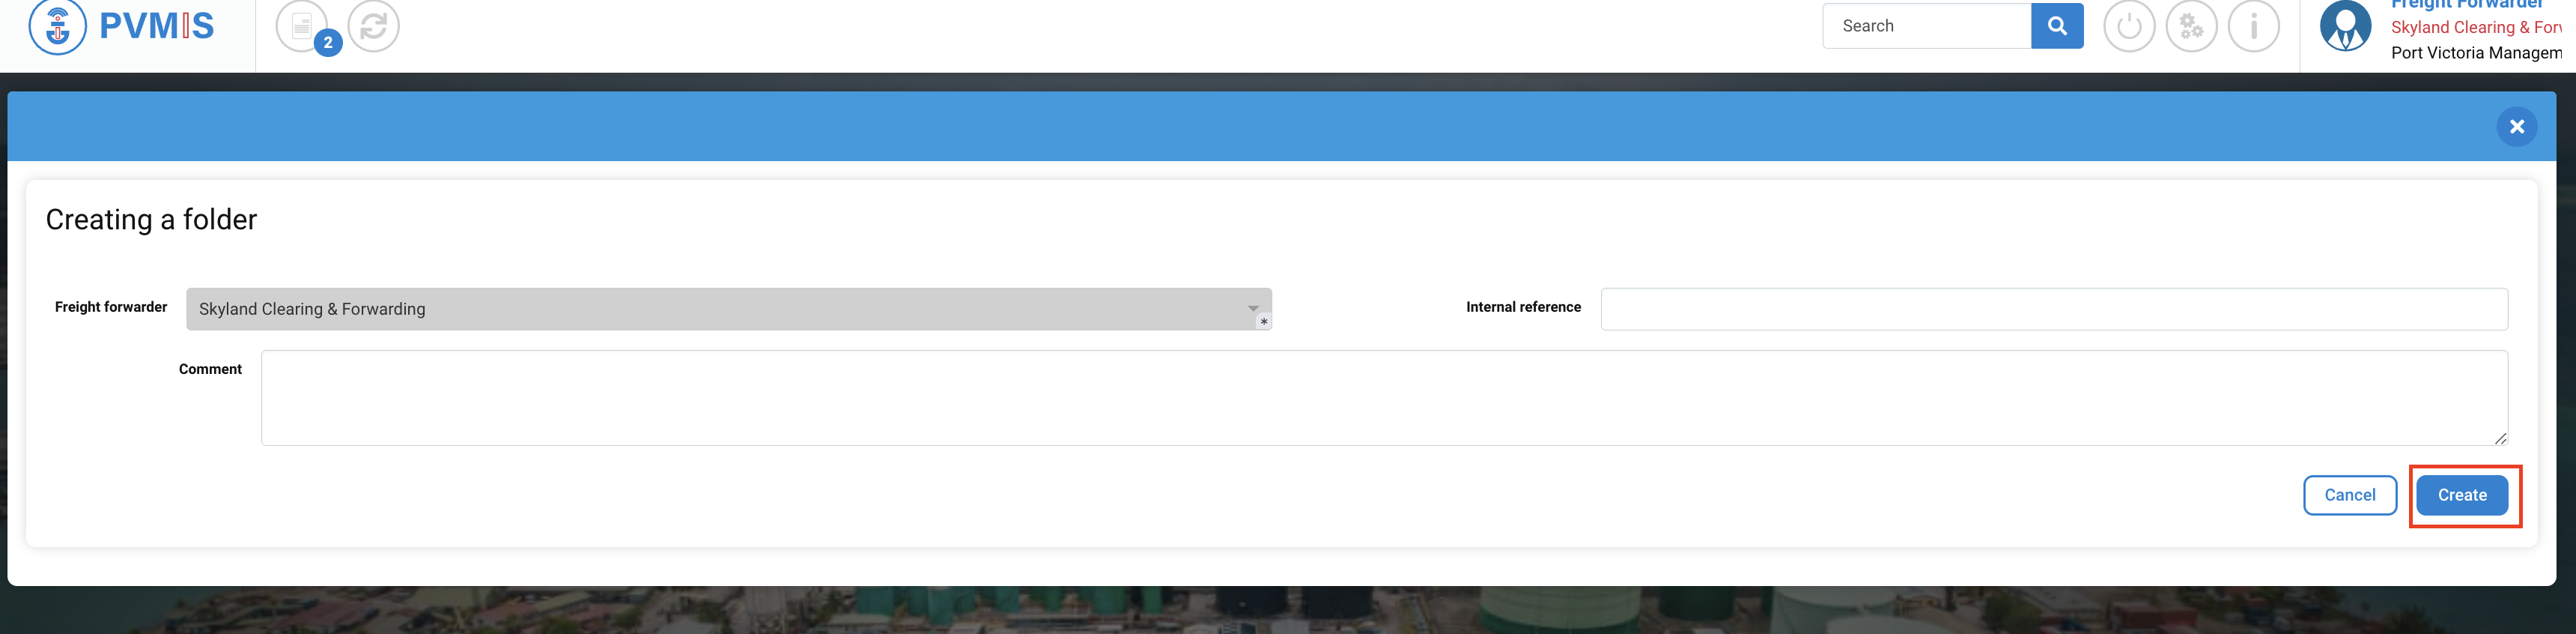
Complete the creation folder form, the Internal reference and Comment fields are optional, then click on Create button:
The folder is created, a declaration number is automatically generated.
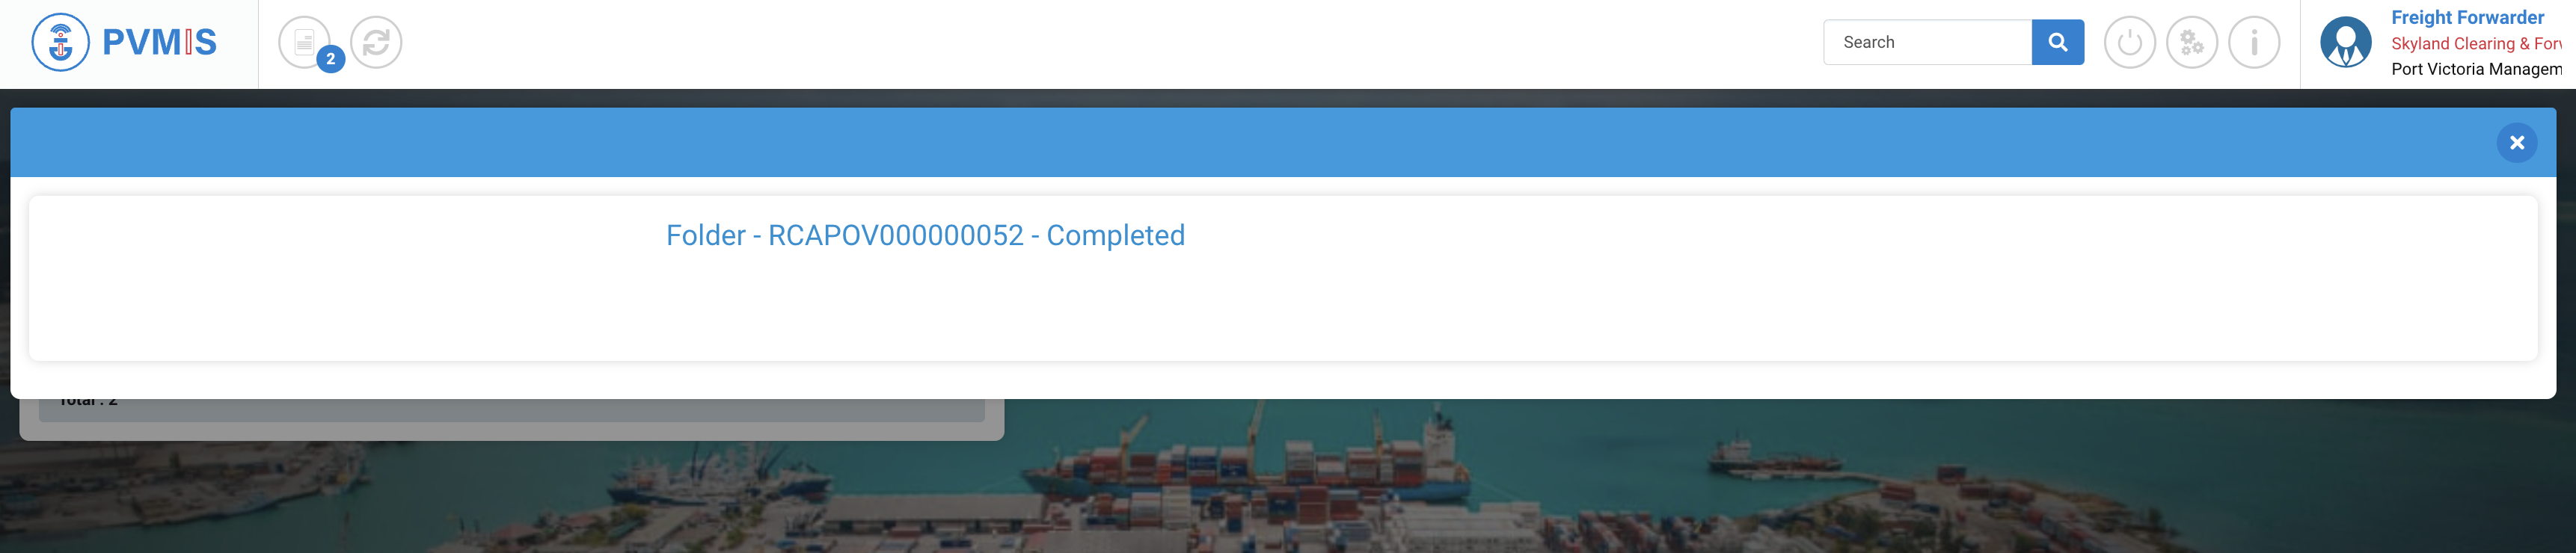
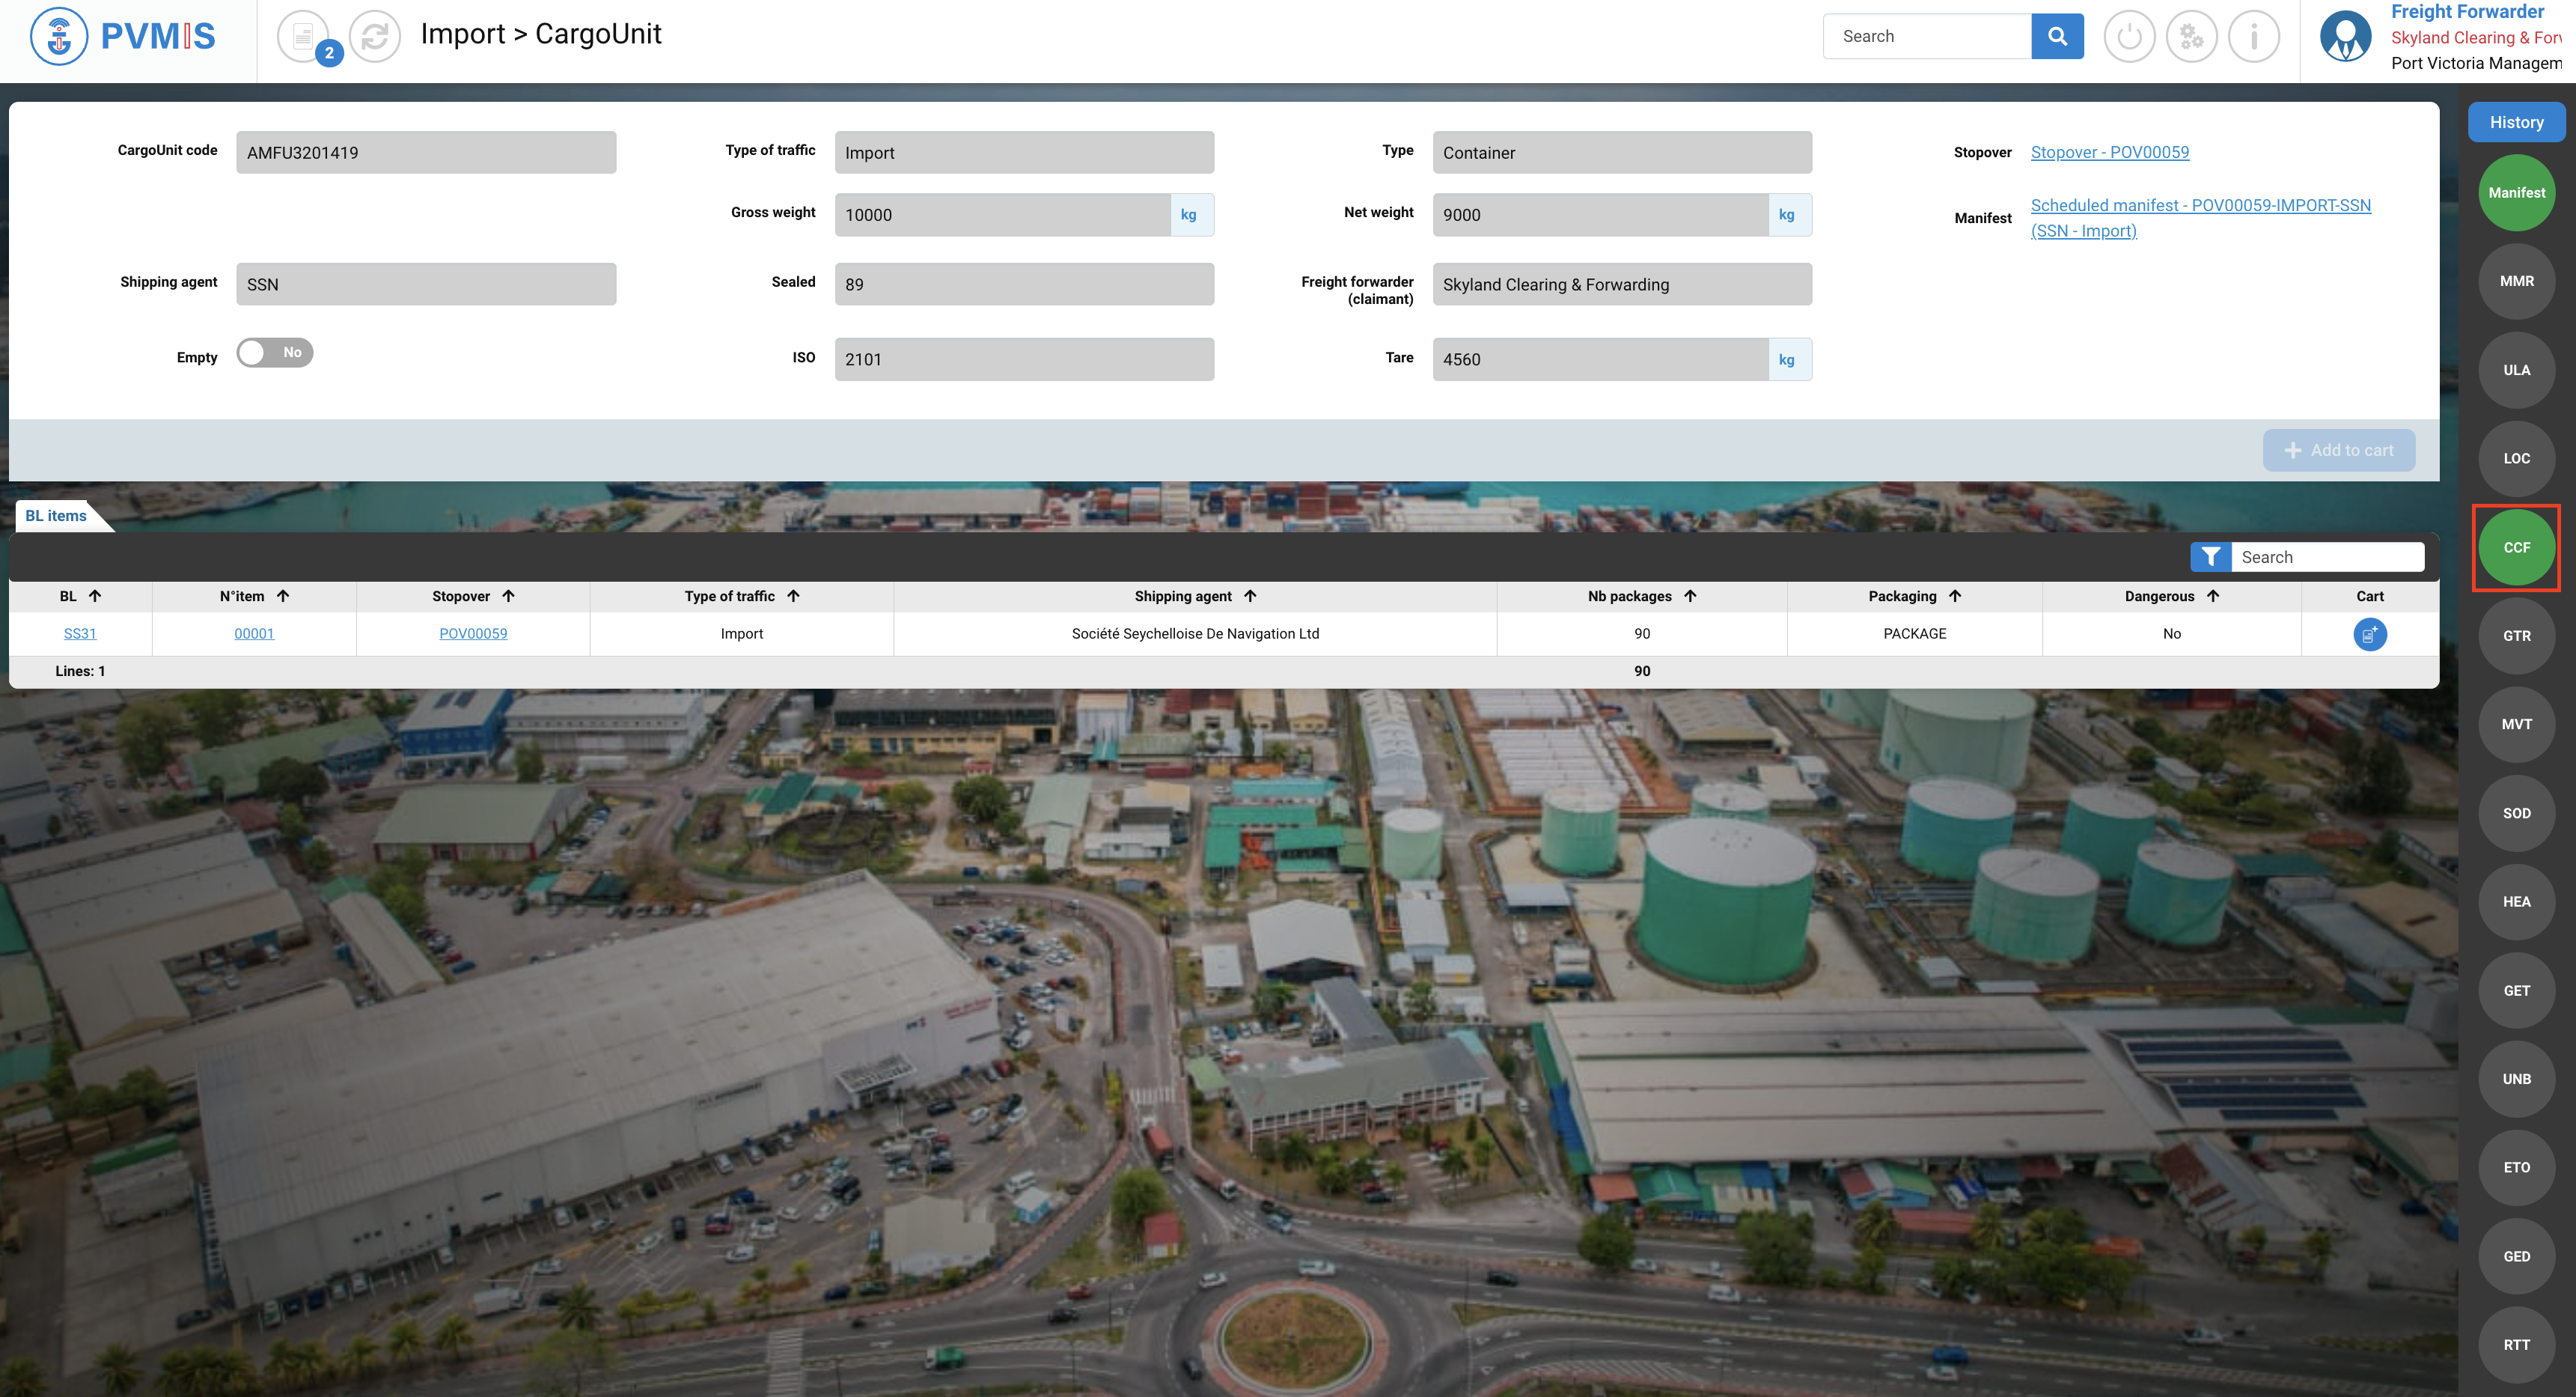
If you close the information modal, on the cart page click on CargoUnit code to consult the detail of the CU:

On the detail page of the CargoUnit, you can see the CCF status turn green on the right of screen. The CCF (Customs Clearance Folder) status corresponds to confirmation of a folder creation.
Don't forget to remove your items from the cart if you have finished making your actions.
By clicking on cross icon for each item:
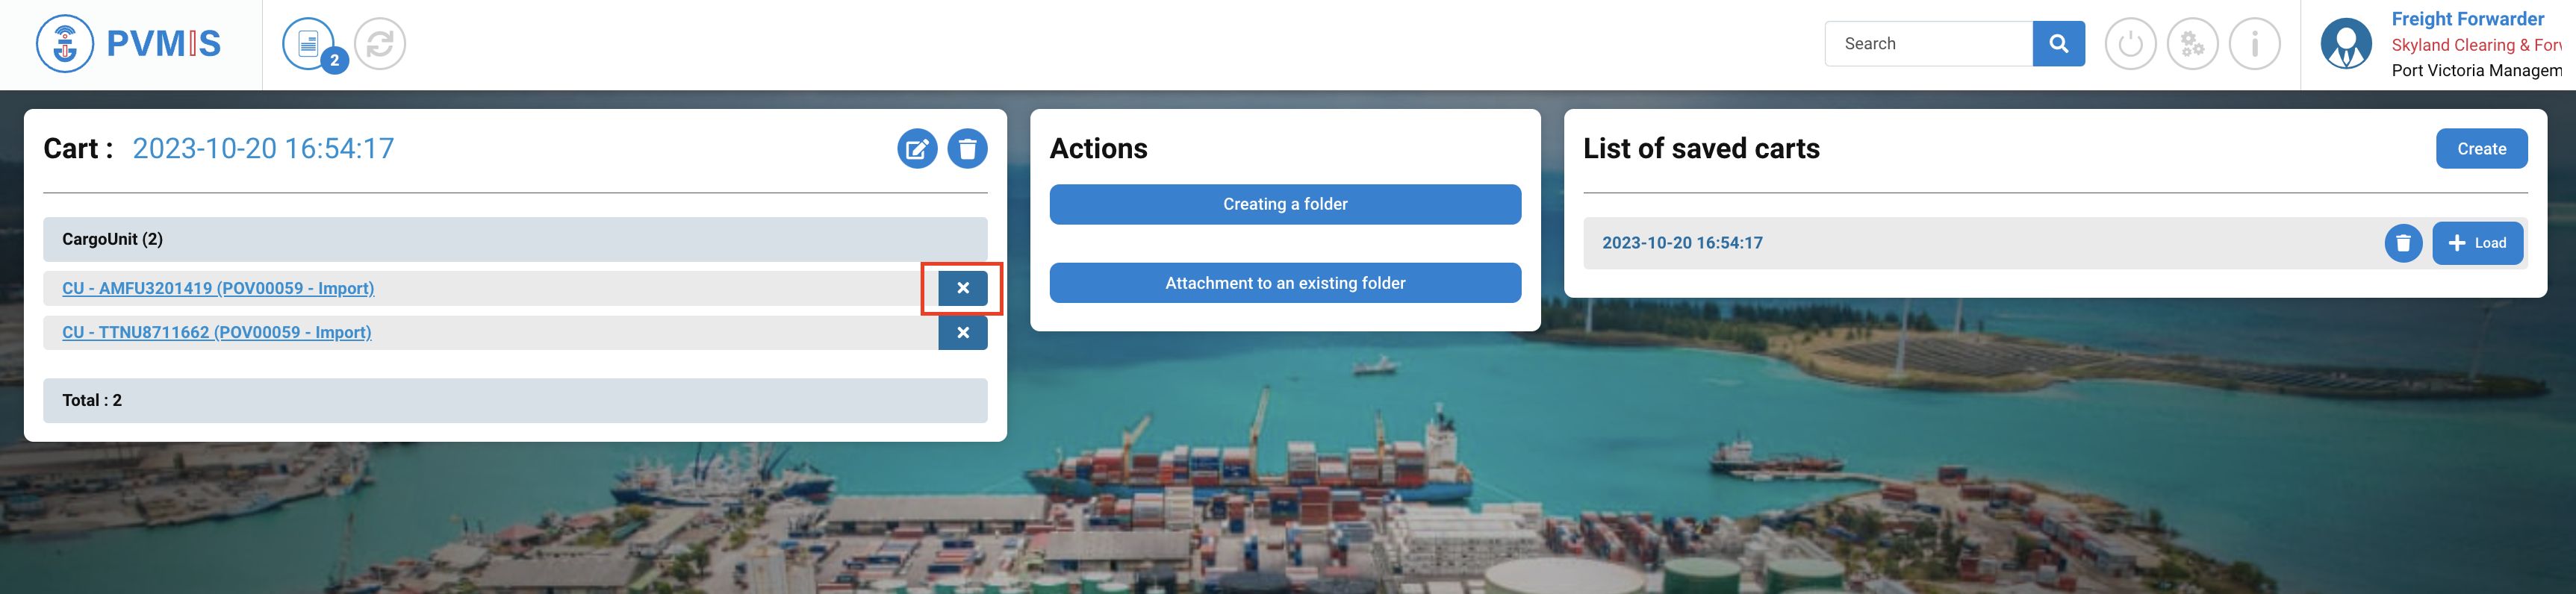
You can delete all items in the cart list by trash icon: